10.4 Create a Move Policy
Move policies move folders and their contents from a target folder to a destination parent folder. If the parent folder does not have a subfolder with the name of the folder being copied, it will create a new subfolder with that name. If it already has a subfolder with the same name, it will merge the contents of the folder into the existing subfolder with the same name and then, based on your overwrite settings, either overwrite the same named files or not copy the same named files.
10.4.1 Creating a Move Policy
-
In the Admin Client, click the Target Driven tab.
-
Click Policies.
-
Select New > Move Policy.

-
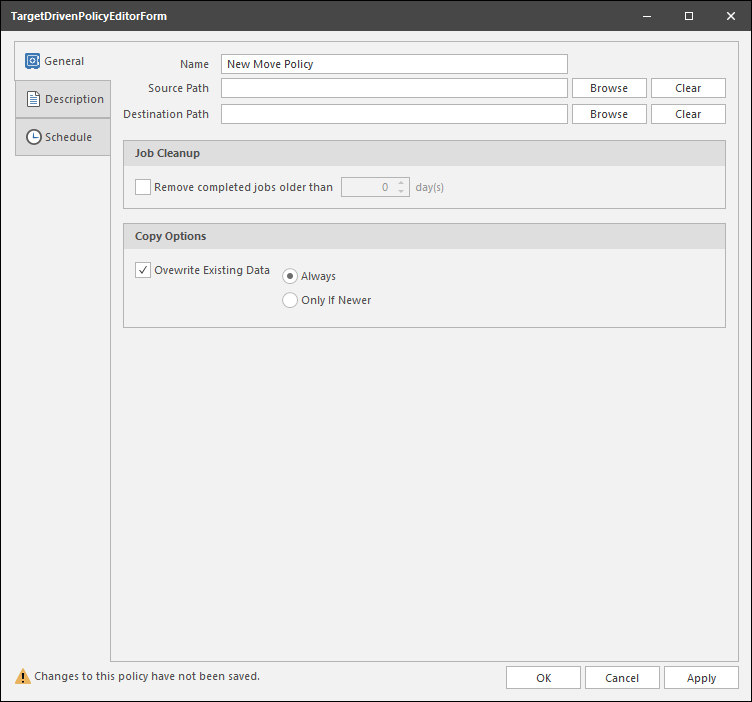
In the Name field, give the Move policy a descriptive name.
For example, Move NY Departments to Atlanta.
-
Click the Browse button that pertains to the Source Path field.
-
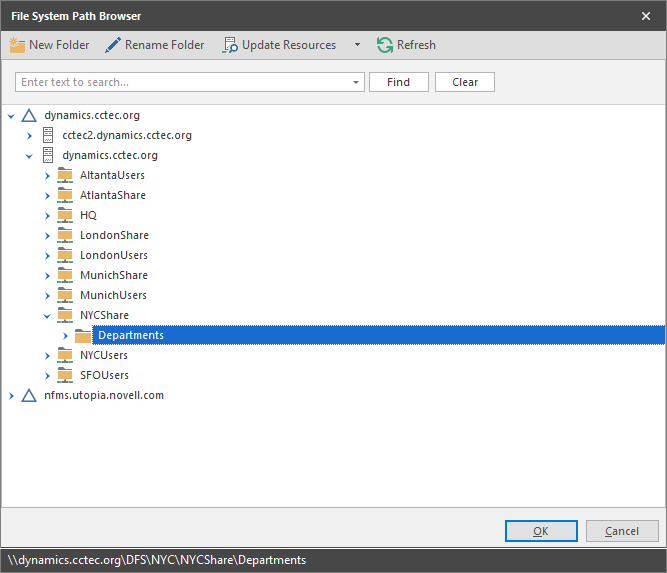
In the File System Path Browser, specify the location in the file system from where you will be moving files for this policy.

-
Click the Browse button that pertains to the Destination Path field.
-
In the File System Path Browser, specify the location in the file system where you want the selected files moved for this policy.
-
Select the Remove completed jobs older than check box and specify the number of days that a Move task from this policy is listed on the Jobs list before it is purged.
-
In the Copy Options region, specify your copy settings.
Overwrite Existing Data: With the default setting, File Dynamics will overwrite an existing file on the target destination only if the same file from the source location is newer. You can adjust this setting to your preferences. If the Overwrite Existing Data check box is deselected, all duplicate named files will not be copied.
-
Click the Description tab and enter any information you want about the policy.
-
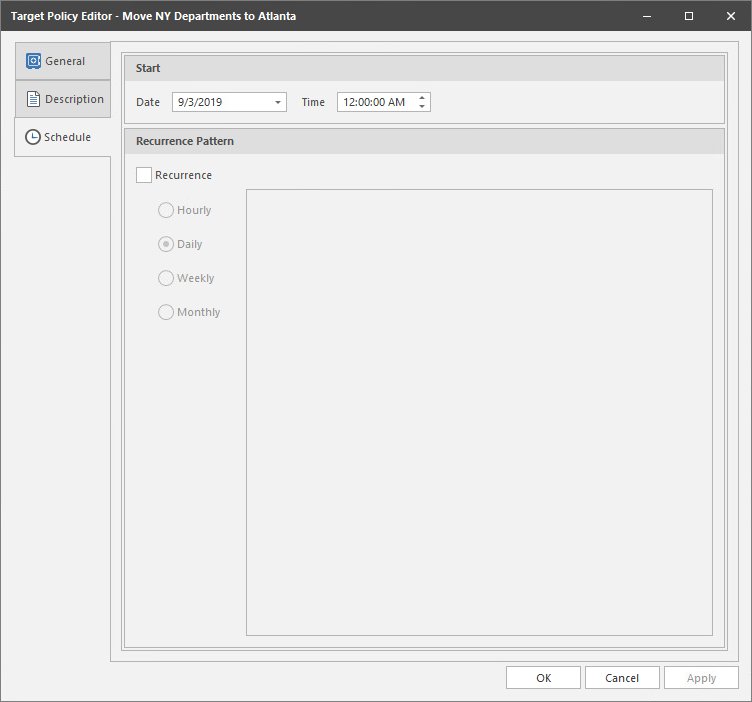
Click the Schedule tab.

-
In the Date field, specify the date you want the policy to be initially invoked.
-
In the Time field, specify the time you want the policy to be initially invoked.
-
(Conditional) If you want the Move policy to run on a recurrent basis, select the Recurrence check box and then select one of the options.
-
Click Apply to save the schedule.
-
Click OK.