4.1 Recovering Data Using the Recovery Wizard
The Recovery Wizard allows you to recover data through step-by-step instructions provided in a wizard interface. For Data Owners that don’t recover data very often, this might be the fastest means of recovering data, due to the easy-to-follow interface.
-
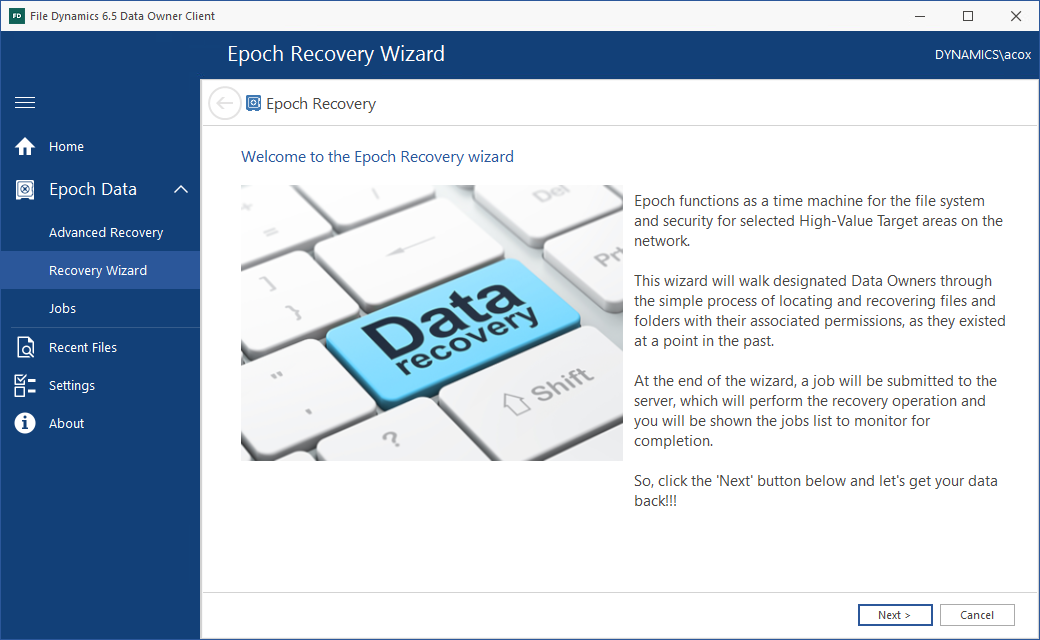
Click Epoch Data > Recovery Wizard.
-
Read the overview and click Next.
-
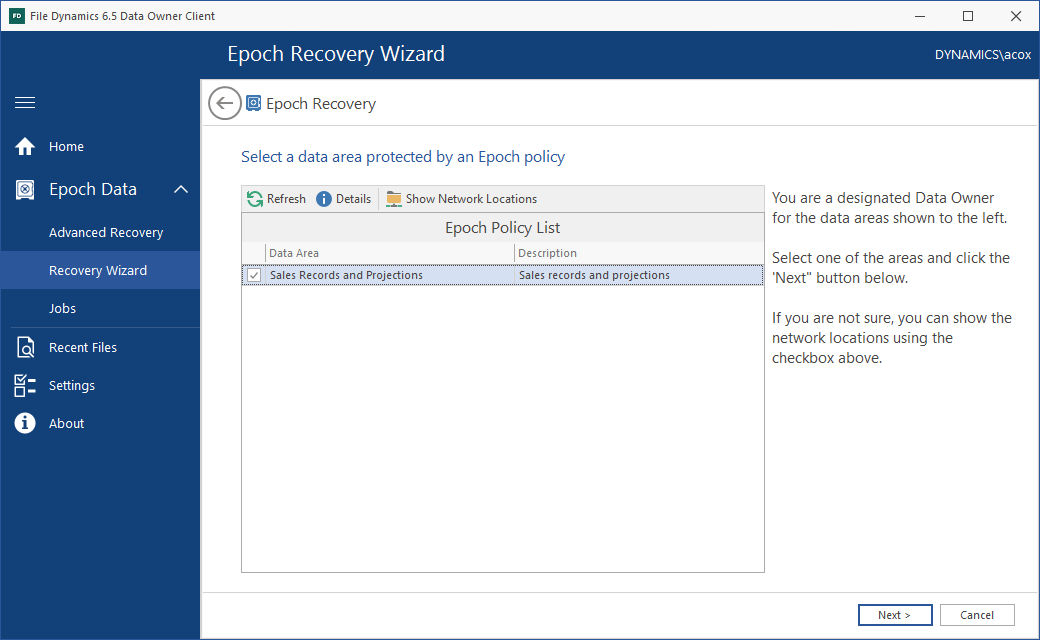
From the list of Epoch Data polices, select the one from which you will be recovering data.
-
Click Next.
-
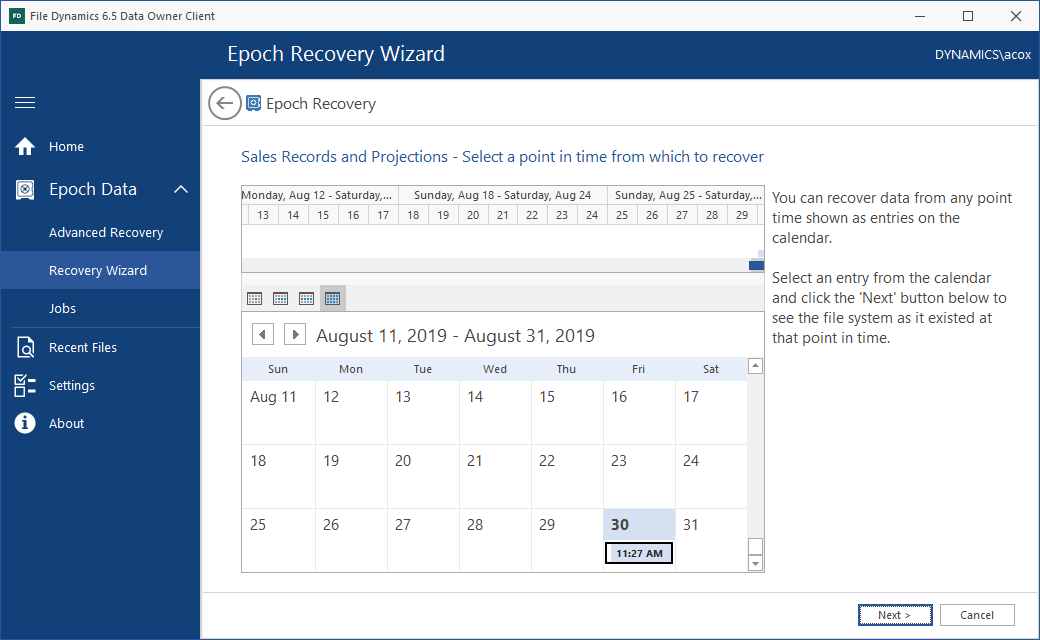
From the calendar, select the Epoch from which you want to recover data.
-
Click Next.
-
In the Selected Files / Folders for Recovery region of the page, select the files and folders to recover.
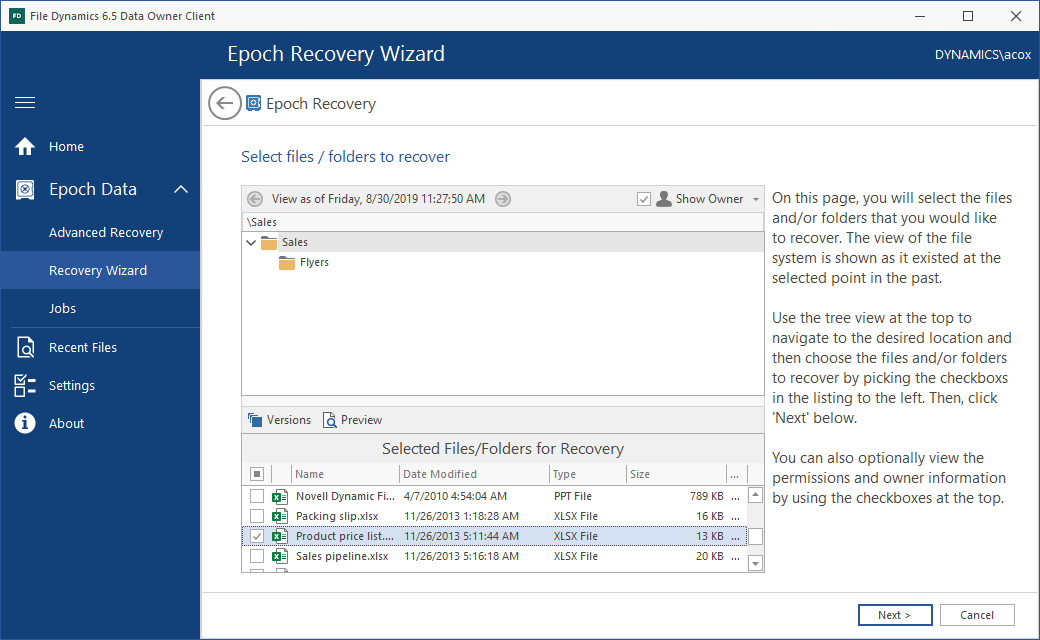
If there is another version of the selected document in another epoch, the Versions button becomes active.
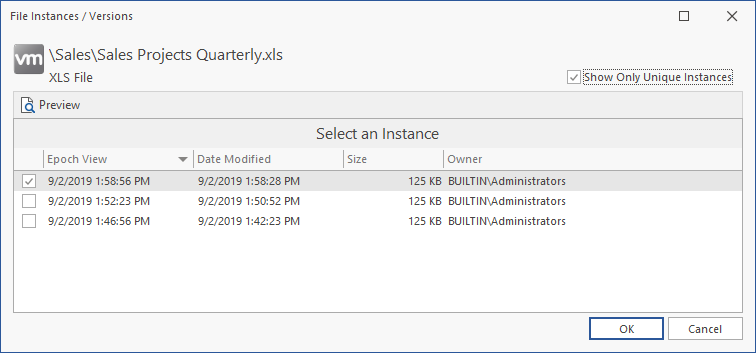
-
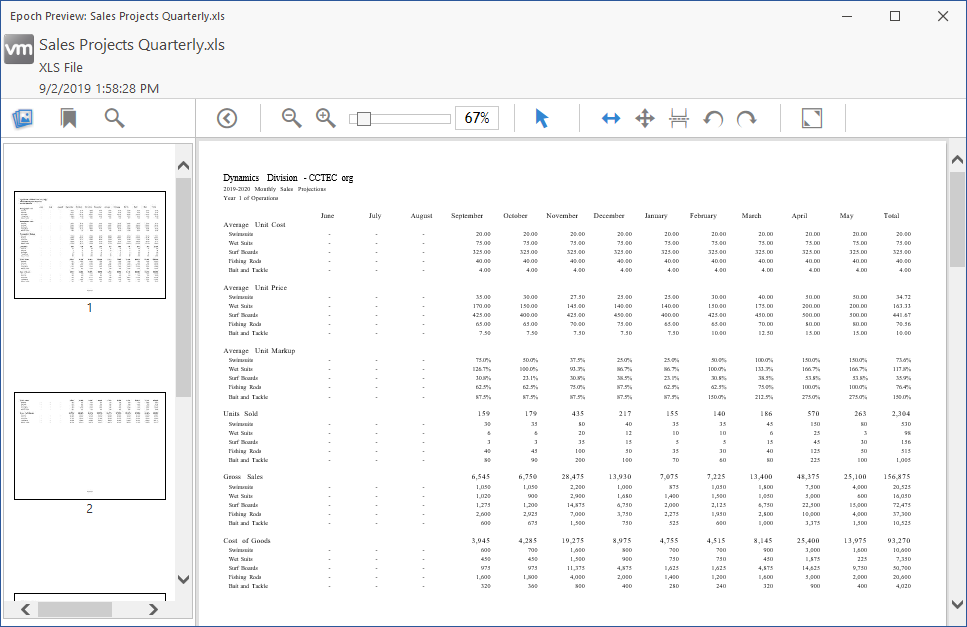
Double-click the selected file to view a rendering of the file and verify that it is the file you want to recover.
A rendering of the selected file appears.
-
Verify that the rendered file is the file you want to recover.
-
Close the rendered file.
-
In the Recovery Wizard, click Next.
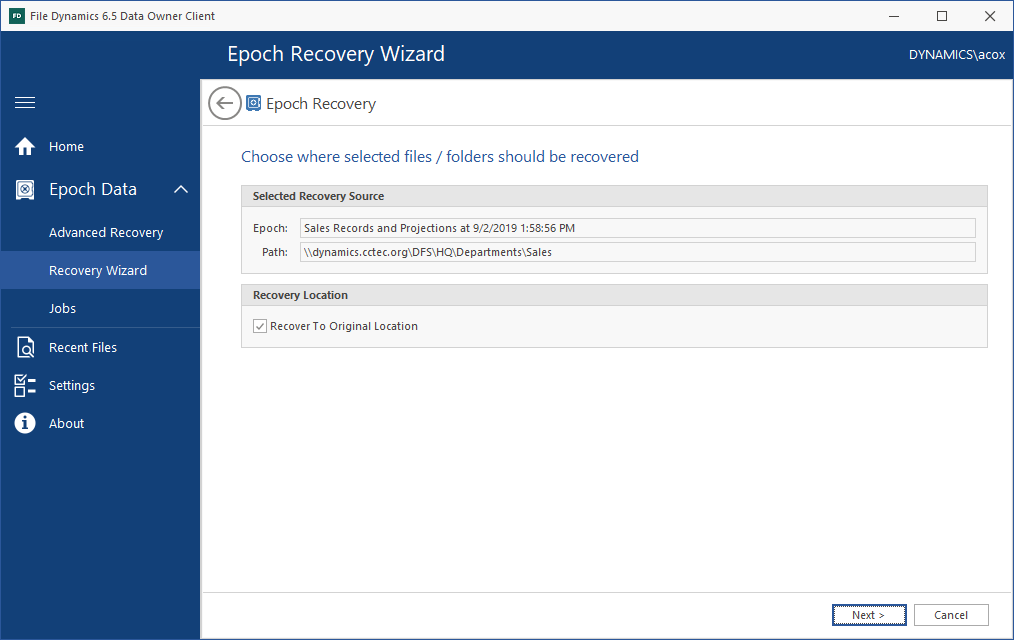
If the Epoch Data Protection policy allows for data recovery to a different location, you can deselect the Recover to Original Location check box to specify a location in the file system where the recovered file will be stored.
-
Click Next.
-
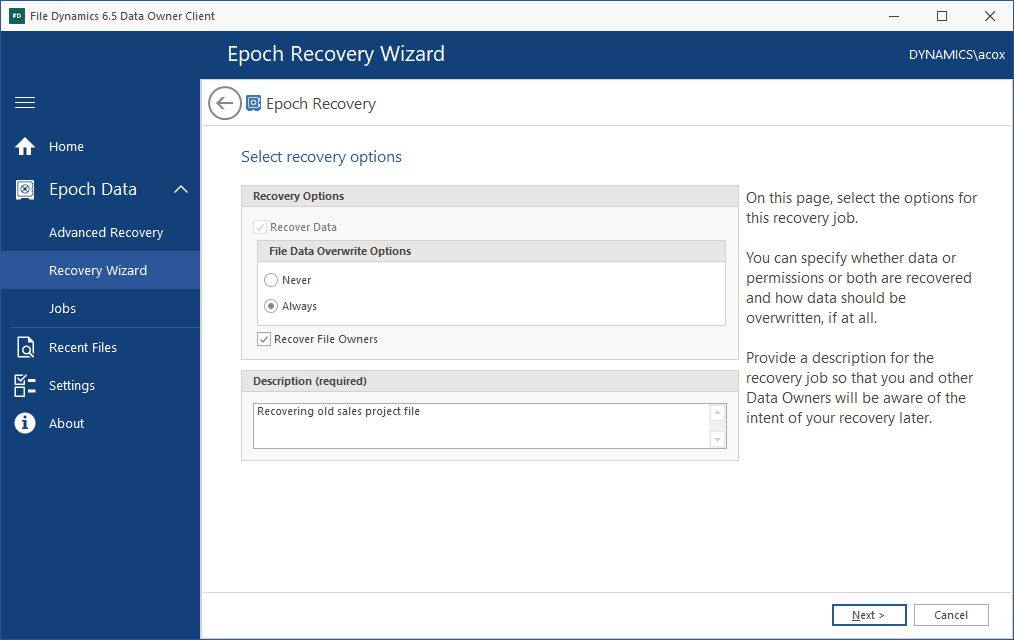
In the Recovery Options region of the wizard page, specify whether to overwrite data or not, whether to overwrite or merge permissions, and whether to recover the original file ownership settings.
-
In the Description field, provide a description of this recovery instance.
-
Click Next.
-
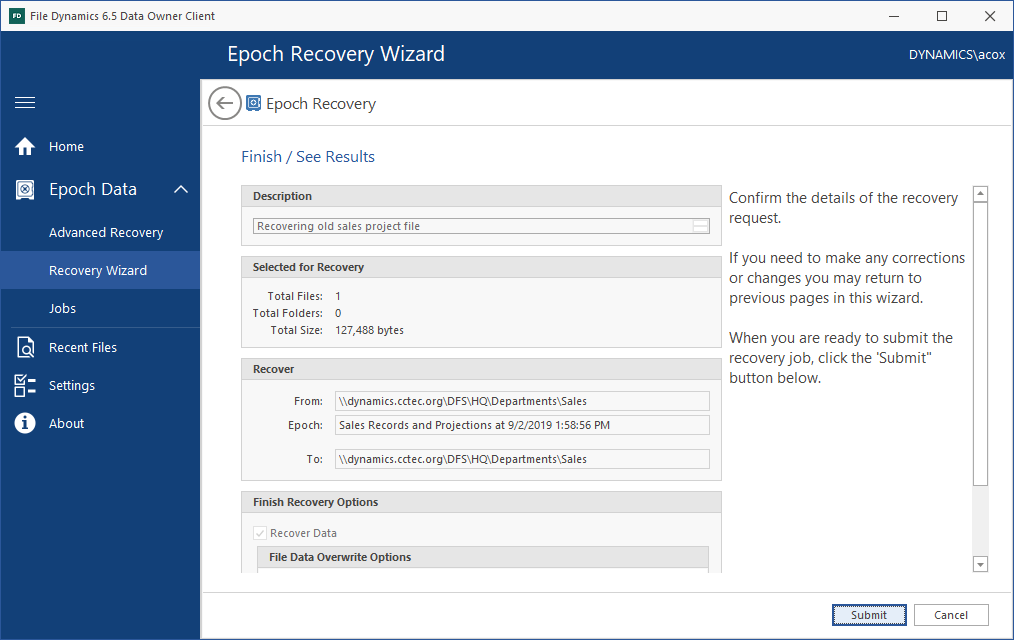
Review the specifications of the recovery request.
If you need to make any corrections you can go back to previous pages to do so.
-
Click Submit.
The Manage Recovery Jobs dialog box appears with the new recovery job located at the top, along with details of the data recovery.
-
In the Manage Recovery dialog box, click Refresh to get an update of the status of the recovery.