6.10 Installing and Configuring the Event Monitor
The Event Monitor can be installed on a Windows Server machine that meets the following minimum requirements:
-
Microsoft Windows Server 2019 (Member Server)
-
Microsoft Windows Server 2016 (Member Server)
-
Microsoft Windows Server 2012 R2 (Member Server)
-
At least 4 GB RAM
-
Forest functional level 2003 or later in native mode
Other notable information about the Event Monitor:
-
There is only one Event Monitor per domain
-
The Event Monitor runs as a native NT service that is configured to start by using the Local System account
-
The Event Monitor must be permitted to make outbound connections through the firewall
-
On the Windows server that will host the Event Monitor, copy to a directory the FileDynamics_6.5.0.iso.
-
Mount the FileDynamics_6.5.0.iso file.
-
At the root of the FileDynamics_6.5.0.iso image, double-click FileDynamics-EventMonitor-6.5-xx.exe.
-
When you are asked if you want to run this file, click Run.
-
Agree to the licensing terms and conditions and click Install.
-
When notified that the setup was successful, click Run Configuration Utility.
-
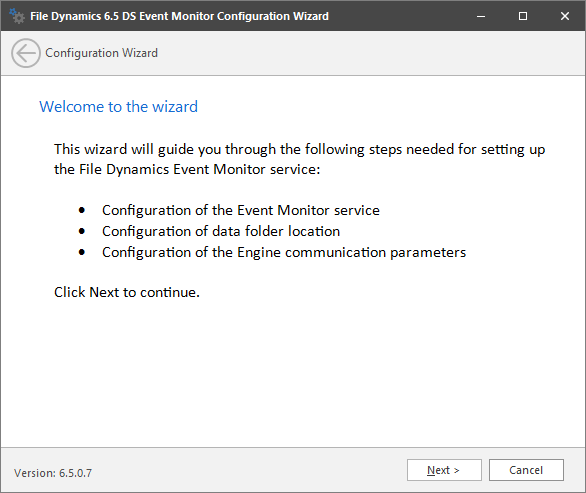
From the wizard page, read the overview of the setup steps and click Next.
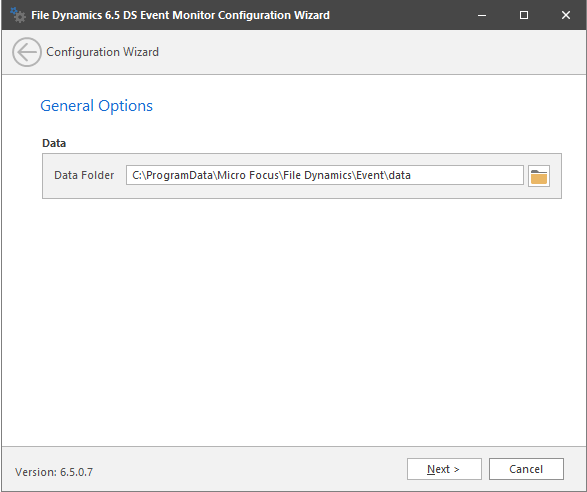
The default path of the Data Folder is displayed, which you can edit. The Data folder contains application data needed by File Dynamics.
-
Click Next.
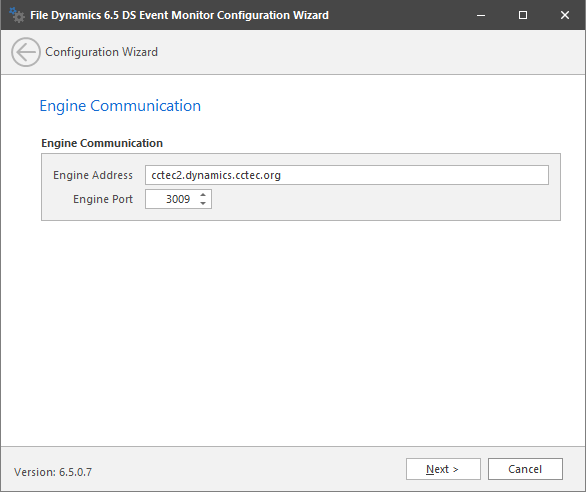
This page lets you set parameters for the Event Monitor to communicate with the Engine.
Engine Address: Specify the DNS name or IP address to the server hosting the Engine here.
Engine SSL Port: Specify the SSL port for the Engine here.
-
Enter the Engine connection settings and click Next.
-
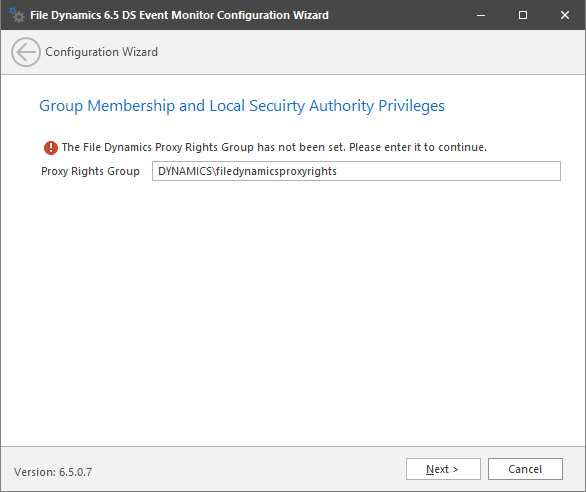
(Conditional) If you chose a name that was not the default name for the File Dynamics Proxy Rights group, enter the name in the Proxy Rights Group field.
-
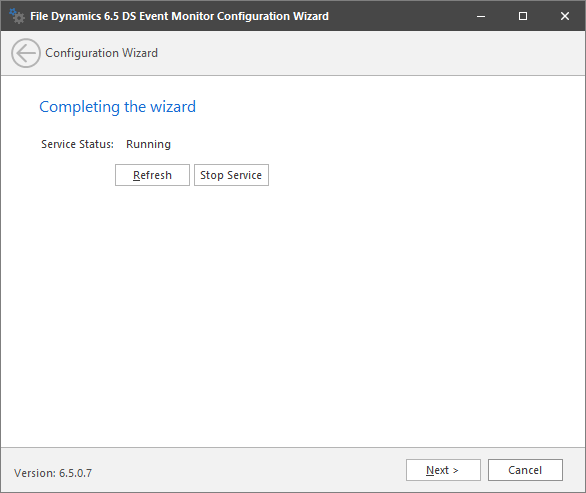
Click Next.
-
Click Finish.
The Event Monitor is now installed and running. You must still authorize it using the Admin Client. For procedures, see Section 6.14, Authorizing the Event Monitor.