C.3 Provisioning Exchange 2010 Accounts
Exchange 2010 service is available with the latest Active Directory driver patch.
This service is installed on the server that is running the Active Directory driver. If you decided to run the driver locally, the driver is installed on the Identity Manager server. If you decided to run the driver remotely, the driver is installed on the same server as the Remote Loader service.
The service listens on a default port of 8098. This is set when the service is installed. It is stored in the registry key HK EY_LOCAL_MACHINE\SOFTWARE\Novell\IDM_AD_EX_2010_SERVICE. The value can be edited if necessary. If you edit the registry key, both the service and the driver must be restarted.
The Active Directory driver creates, moves, and disables Exchange 2010 mailboxes. The cmdlets supported by the Active Directory driver to create, move, and disable mailboxes in Exchange 2010 are Enable-Mailbox, New-MoveRequest, and Disable-Mailbox. The cmdlets use the following parameters in the Active Directory driver:
-
Enable-Mailbox: -Identity, -Alias, -Database -DomainController
-
Disable-Mailbox: -Identity, -DomainController, -Confirm
-
New-MoveRequest: -Identity, -TargetDatabase, -DomainController, -Confirm
For more functionality support, use the Scripting driver. For more information about Scripting driver, see the Identity Manager 3.6.1 Driver for Scripting Implementation Guide.
To provisions the Exchange 2010 mailboxes, the following steps must be completed:
-
Meet the prerequisites
-
Install the service
-
Configure the driver
Prerequisites
On the server where the driver will run, whether that is as a Remote Loader service or if the driver is installed locally, the following items must be installed:
-
Microsoft .NET Framework version 2.0 or above.
-
Exchange 2010 Management Tools for 64-bit platform.
Installing the Service
To install the service, you must use the .NET Framework InstallUtil.exe utility. The version folder is the current version of the .NET Framework that is installed.
The default location for a 64-bit server is C:\WINDOWS\Microsoft.Net\Framework64\version\InstallUtil.exe.
To use InstallUtil.exe:
-
Open a .NET command prompt.
-
Issue the command InstallUtil IDMEx2010Service.exe to register the service and create the correct registry entries.
The default location of the service is C:\novell\remoteloader\IDMEx2010Service.exe.
-
To start the service, select .
-
Right-click the service , then select .
The service runs as a system. A system usually does not have rights to manage mailboxes. Run the service as an account that has enough rights to manage mailboxes as mentioned in the TID 3608183.
To uninstall the service, issue the command InstallUtil /u IDMEx2010Service.exe.
Configuring the Driver
You need to modify the existing driver object to enable provisioning with Exchange 2010.
To modify an existing driver in Designer:
-
Right-click the Active Directory driver in the Modeler, then select .
-
Select .
-
Search for the heading <header display-name=“Exchange Options”/>.
-
Change the following lines:
-
Click twice to save the changes.
To modify an existing driver in iManager:
-
Select .
-
Select the driver set where the Active Directory driver is stored, then click .
-
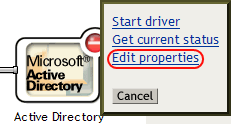
Click the upper right corner of the Active Directory driver, then click.

-
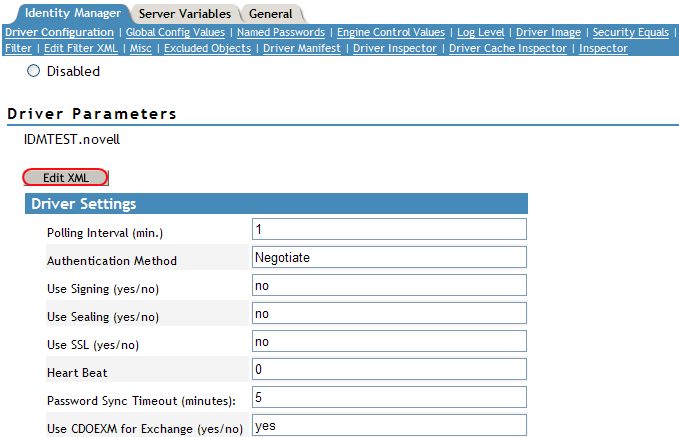
In the tab, click under .

-
Click the check box.
-
Search for the heading <header display-name=“Exchange Options”/>.
-
Change the following lines:
-
Click twice to save the changes.