
  |
Most of your work will be done in the Project Window, where you can drag and drop NetWare 3 bindery objects and volume data into NDS containers in the destination NDS tree.
The Project Window is a place to model different migration scenarios before you begin the actual migration. The source server's bindery objects and volume data are shown in the left side of the Project Window, and the destination NDS tree is displayed in the right side of the Project Window. All of the planning in the Project Window is done offline, meaning that items moved and created in the Project Window are not actually moved or created until you begin the migration.
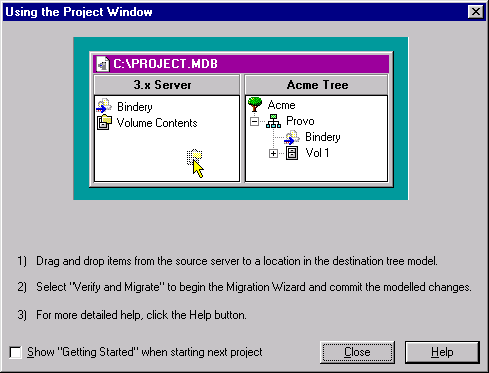
The Project Window and the Using the Project Window dialog box appear once you have created the migration project. The following figure is an example of the Using the Project Window dialog box that appears on top of the Project Window.
Figure 2
Using the Project Window Dialog Box
The three basic steps outlined in this dialog box should be performed for each migration project. Once you are familiar with the tasks that you will be performing, click Close to access the Project Window and begin modeling your migration.
Complete the following tasks:
Determine which NetWare 3 bindery objects and volume data will be copied to which containers in the destination server's NDS tree.
If needed, create new objects in the destination NDS tree.
Drag and drop NetWare 3 bindery objects, folders, and volumes into NDS containers.
Continue with the next section, "Verify Your Migration Project."
  |