Log in from a Windows 95/98 or Windows NT/2000 workstation to your existing network as a user with the Supervisor right.
If prompted to log into the network while using NetWare Deployment Manager, you can enter the server name or click Details and specify the IP address.
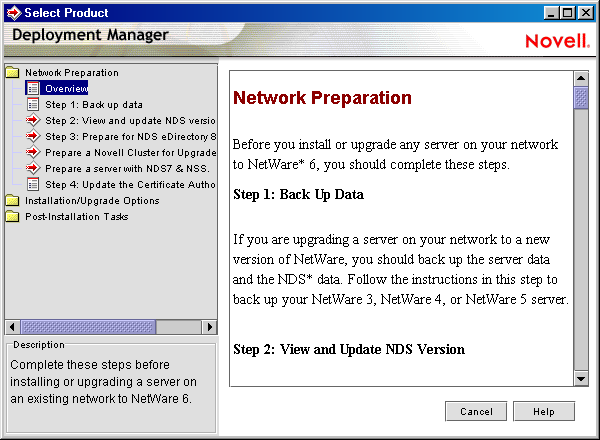
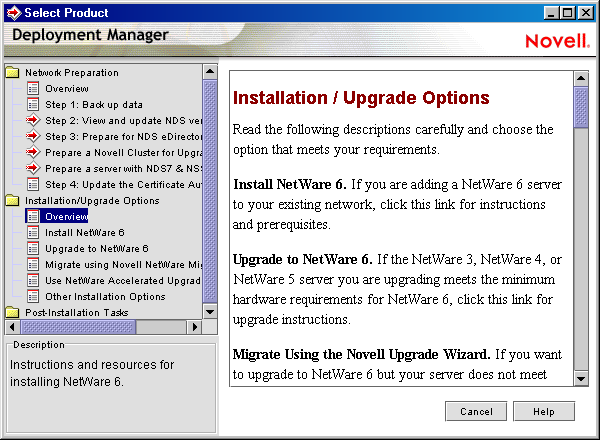
Run NetWare Deployment Manager (NWDEPLOY.EXE), located on the NetWare 6 Operating System CD.

Double-click the Network Preparation folder to view the tasks and read the Overview section to get an understanding of the tasks.
Back up any server data and Novell® eDirectory data following the instructions in the Back Up Data step.
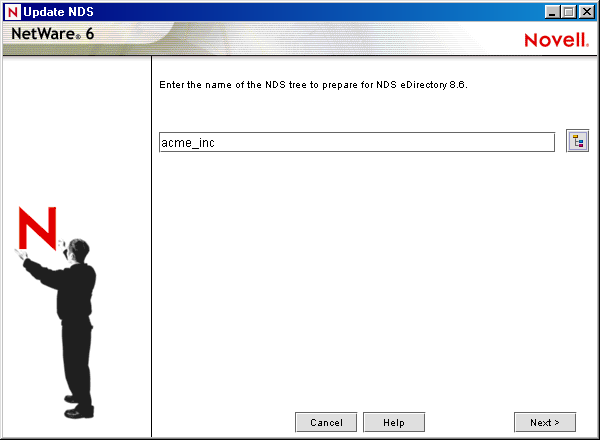
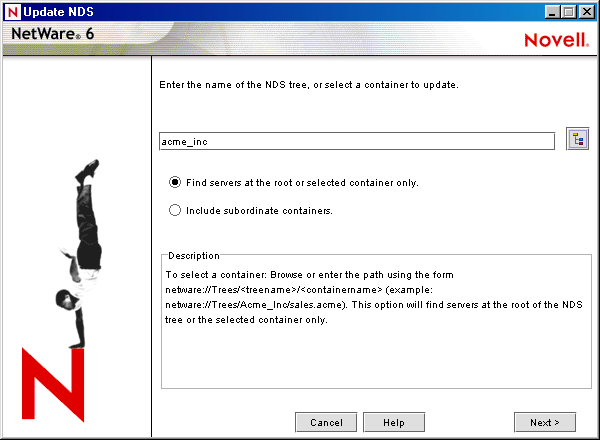
Run the View and Update eDirectory Version program to update eDirectory as required.
HINT: If you are prompted to log in again while running NetWare Deployment Manager, you can enter the IP address of the server by clicking Details.
Run the Prepare for eDirectory program to extend the network schema.

(Conditional) If you are upgrading a cluster of NetWare servers, run the Prepare a Novell Cluster for Upgrade program.
(Conditional) If you are upgrading a NetWare 5 server running NDS® 7 that has NSS volumes, run the Prepare a Server with NDS 7 and NSS program.
Follow the instructions in the Update Certificate Authority (CA) Object step to create or update a Security container object and a Certificate Authority (CA) object.

