From the Windows desktop, double-click the ConsoleOne icon.
In ConsoleOne, browse the DA_TREE to select the DA organization container. Create a new Organizational Unit called ADforest below the DA organization > close ConsoleOne.
Insert the Novell Account Management CD into your Windows 2000 Server's CD drive. Autorun will start the Novell Account Management setup.
From the Choose Setup Language window, select English > click OK.
In the Novell Account Management for Windows 2000 splash window, enable both the Synchronize Active Directory with eDirectory and the Install ConsoleOne options > click the Install button.
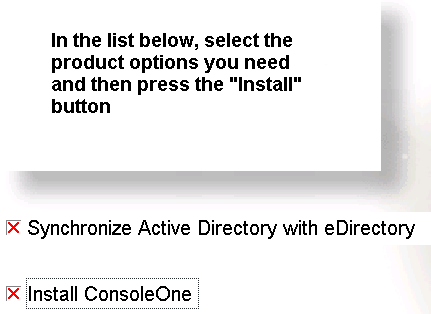
Re-installing ConsoleOne is necessary to ensure that the Account Management snap-ins are installed.
The Novell Client will update if necessary, and the ConsoleOne install will start. Repeat Step 18 through Step 36 in Install Novell eDirectory 8.61 .
In the Installation Complete window, click Close.
In the Account Management for Windows 2000 Product Installation Welcome window, click Next.
In the License Agreement window, click Accept.
In the Summary window, click Next.
If shutting down eDirectory takes more than two minutes, the eDirectory service may have encountered a shutdown problem. In this case, refer to Novell Support TID 10064212 at the Novell Support Web site.
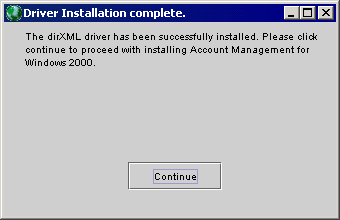
In the Driver Installation Complete dialog box, click Continue.
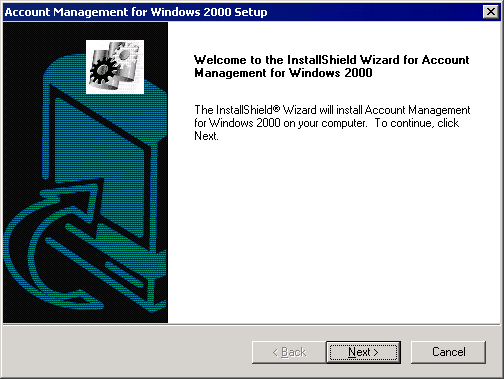
When the Account Management Welcome dialog box is displayed, click Next.
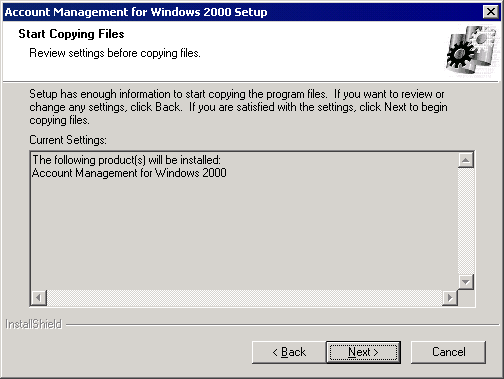
In the Account Management Start Copying Files dialog box, click Next.
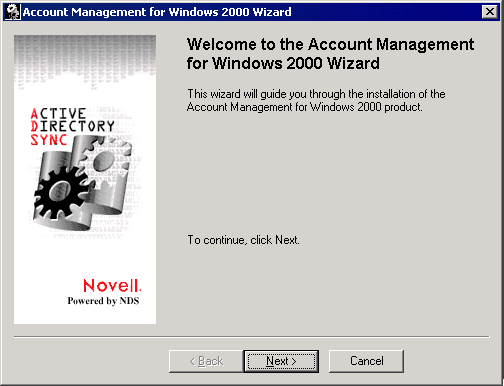
On the Welcome page of the Account Management for Windows 2000 Wizard, click Next.
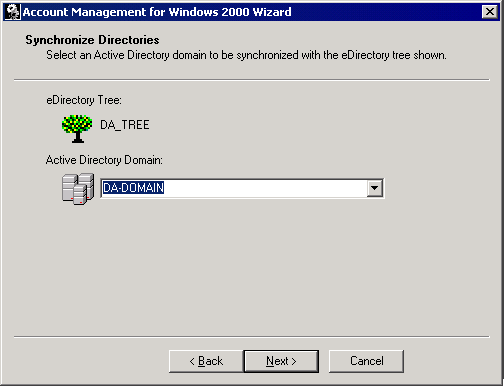
On the Synchronize Directories page, ensure that the Active Directory Domain field specifies DA-Domain > click Next.
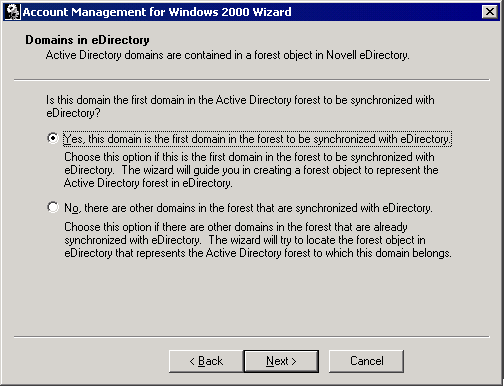
In the Domains in eDirectory window, select Yes, This Domain Is the First Domain in the Forest To Be Synchronized with eDirectory > click Next.
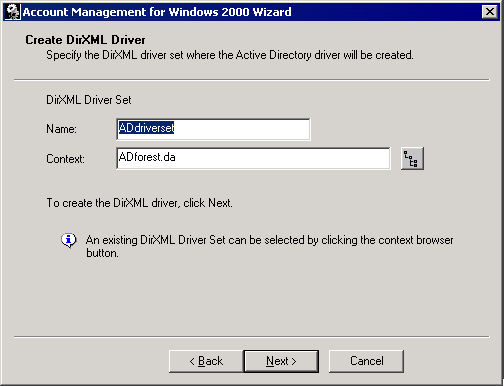
In the Create DirXML Driver page's Name field, type Addriverset > for the Context, type Adforest.DA > click Next.
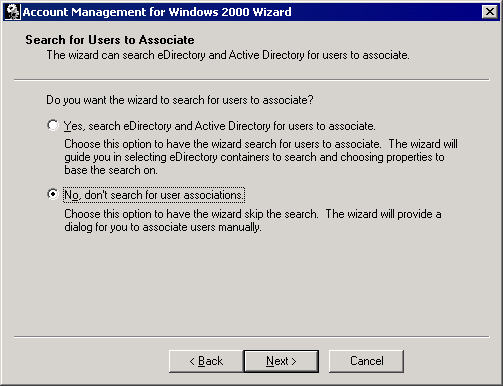
On the DirXML Driver Privileges page, click the Add button > browse to find the user .Admin.DA > click OK > click Next.
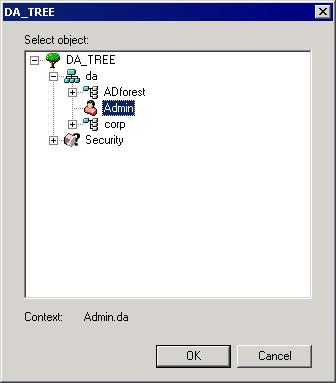
In the Forest Location page's Context field, type ADforest.DA > click Next.
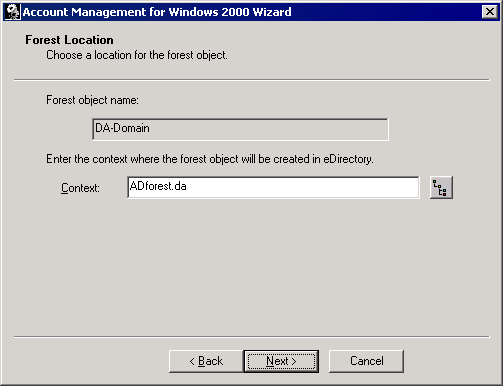
In the New User Location page's Context field, type Adforest.DA > click Next.
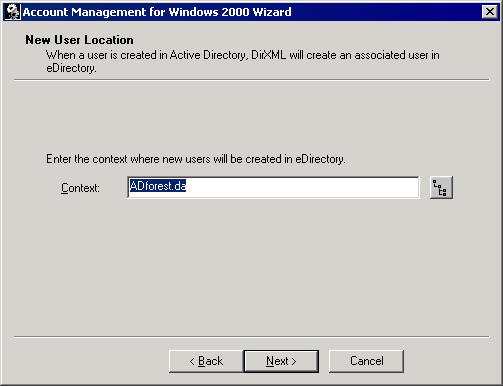
On the Search for Users to Associate page, select No, Don't Search for User Associations > click Next.
On the Users with No Association page, click Next.
On the Summary page, click Next.
After the synchronization completes, click Finish.
In the Password Synchronization Setup dialog box, fill in the fields:
Name: ADPwdSync
Context: ADforest.DA.
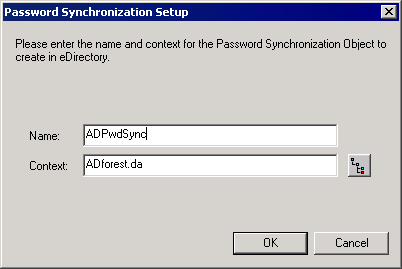
Click OK.
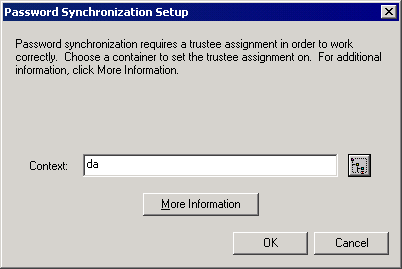
In the Context field of the next Password Synchronization Setup dialog box, type DA > click OK.
In the Pwdsync dialog box, click Yes.
In the Domains Available for Synchronization field of the Add Domain Provider, click DA-Domain > click OK.
In the Pwdsync dialog box, click Yes.

In the Password Filters on DA-Domain dialog box, click the DA-02 list item > click Setup.
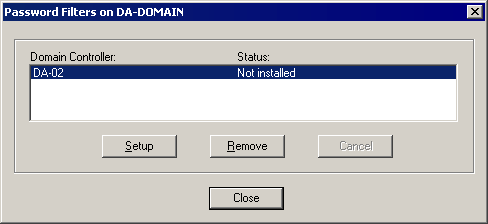
In the PwdSync window, click OK.
In the Password Filters on DA-Domain window, click Close.
In the final Account Management for Windows 2000 Setup window, click Finish.
Follow the steps for Novell TID 2959979 at the Novell Support Web site.
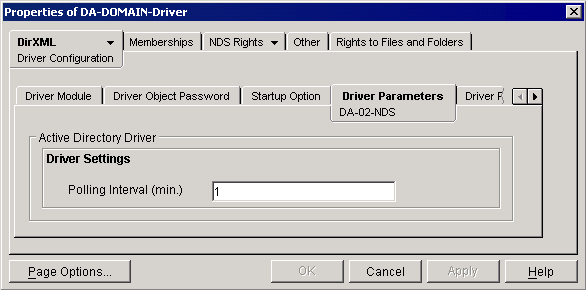
In ConsoleOne, open the DA_Tree and browse to find the .DA-Domain-Driver.ADdriverset.ADforest.DA object > right-click the DA-Domain-Driver object > click Properties from the pop-up menu.
In the Properties of DA-Domain-Driver window, activate the DirXML-Driver Configuration page and the Driver Parameters-DA-02-NDS sub-page > set the Polling Interval field to 1 > click OK.
This will make AD and eDirectory synchronize very quickly.
Close ConsoleOne.
On the Windows Desktop, right-click the My Network Places icon and select Properties.
In the Network and Dial-up Connections window, right-click any network connection icon > select Properties.
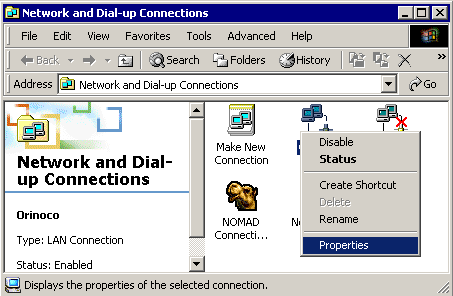
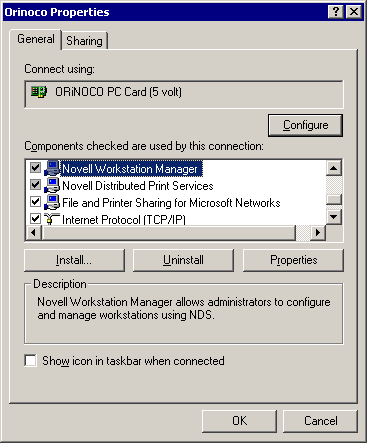
In the Properties dialog box, select the Novell Workstation Manager component and click Uninstall. Confirm the Uninstall by clicking Yes. Repeat the process for the Novell Distributed Print Services > click OK to close the Properties window.
Click the Start menu > Shut Down > Restart > OK.