Select to install Macintosh, UNIX, and/or Windows components.
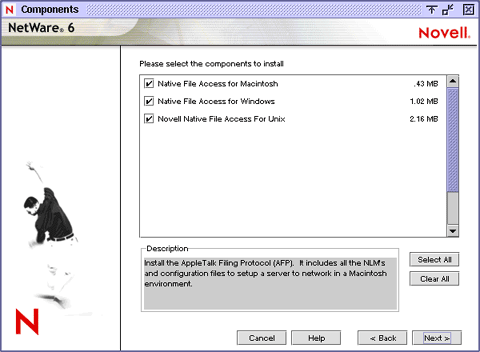
Click Next.
(Conditional) If you choose to install the Windows component (CIFS), complete the following steps:
-
Log in as a user with the Supervisor right.
You must specify the full context for the user.
-
Enter the Server Name and Server Comment that will appear in Network Neighborhood.
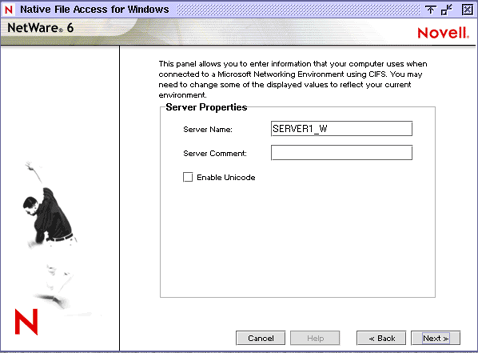
The Server Name must be 11 or fewer characters and must be different from the actual NetWare server name. The Server Comment is optional.
-
Specify whether to enable UNICODE.
When checked, this option enables Unicode characters used in double-byte languages.
NOTE: To support Unicode, an additional file named UNINOMAP.TXT must be created and saved in the SYS:\ETC directory. When the -UNICODE value is set to ON, the UNINOMAP.TXT file is used to resolve Unicode-to-ASCII "no-map" problems.
To specify "no-map" cases in the UNINOMAP.TXT file, enter the first Unicode value to watch for and then the second value representing the ASCII replacement code. For example:
0178 9820AC CCSave the values in the UNINOMAP.TXT file. If an unmappable character is encountered, the system uses the ASCII substitution character specified in the file.
-
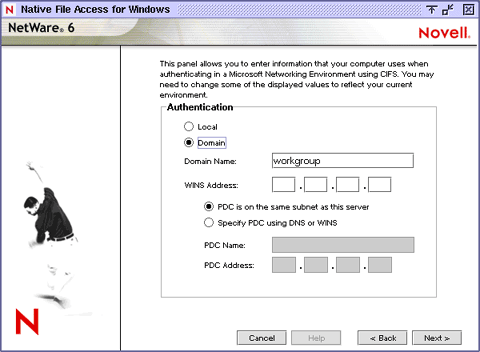
Select one of the following and click Next.
- If users will authenticate using NDS, select Local.
- If users will authenticate using a Domain, select Domain.
For Windows users, there are two types of authentication methods available with Novell Native File Access: Local and Domain. Local authentication requires a simple password to log in to a NetWare server, but a simple password is not required for Domain authentication.
When Novell Native File Access Protocols are configured for domain authentication, it is not possible to change the simple password or the NetWare password using Windows' native Change Password feature. To change the password, you must use Windows' domain management utilities.
-
(Optional) Specify the IP address to be attached to the Windows (CIFS) protocol.
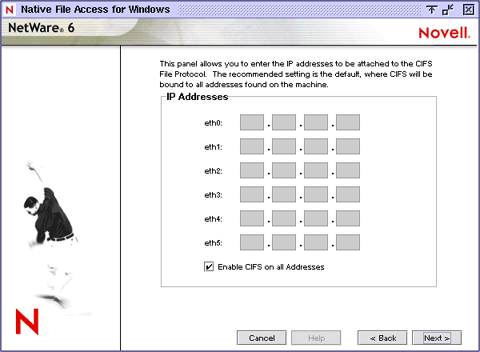
The default is to bind all IP addresses to the CIFS protocol.
-
(Optional) Specify additional NetWare volumes or folders that you want to appear as share points in Network Neighborhood.
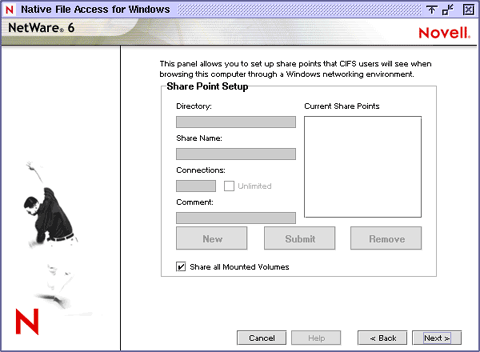
To specify a new share point, click New and then enter the path to the directory, a name, and a description. The directory name must end with a backslash (\). For example, SYS:\SYSTEM\.
-
Specify the NDS contexts for all Windows users who need access to the server.
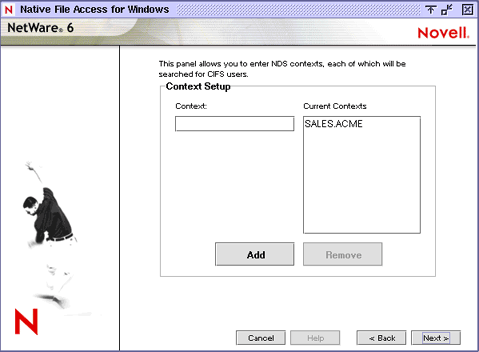
The list of NDS contexts are maintained in the CIFSCTXS.CFG file that can also be updated after installation. For more information, see Specifying Contexts in the Context Search File.
(Conditional) If you choose to install the Macintosh component (AFP), complete the following steps:
-
From the Administrator Workstation, log in as a user with the Supervisor right.
-
Open the SYS:ETC\CTXS.CFG file in a text editor.
-
Enter the contexts of each Macintosh user that requires access to the server. For example:
sales.hongkong.acmegraphics.ny.acmesales.ny.acmeThe Native File Access Protocols software will search each context in order until it finds the User object. For more information on editing the CTXS.CFG file, see Editing the Context Search File.
-
Save the file.
-
(Optional) Rename a volume by editing the SYS:ETC\AFPVOL.CFG file.
Read the Summary Window and then click Finish.
Restart the server.
