For background information about how the functions work and how to customize the import and export functions, see Importing and Exporting Content.
Content Management Guide
CHAPTER 20
This section describes how to import and export content using the CMS Administration Console:
For background information about how the functions work and how to customize the import and export functions, see Importing and Exporting Content.

The CMS Administration Console allows you to export CM data from your repository, beginning from any point in the Content Tree. You can also export the entire contents of a CM system from the toolbar.
Similarly, the CMS Administration Console allows you to import CM data at any point in the Content Tree, or the entire contents of a CM system from the toolbar.
Uses for the import and export facilities include:
Import and export of CM infrastructure It is also possible to export and import all or part of the supporting infrastructure of your CM subsystem, such as fields or document types.
Import and export of archives When you export CM data from the CMS Administration Console, it is stored in a ZIP file that serves as a structured export archive. When you import CM data using the CMS Administration Console, it must be imported from a ZIP file that follows the same structure as the export archive. When you import CM data that has been exported from a CM repository, you import directly from the export archive.
Here is what happens when you export or import CM data, depending on the starting point for the operation:
For more information on what goes into the export archive and how the archive is structured, see Structure of the data import or export archive.
This section explains how to export CM data from the toolbar and the Property Inspectors.
NOTE: Before you export data, be sure to review the section Best practices and prerequisites.

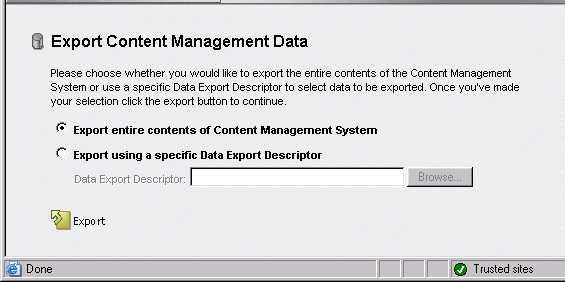
The Export button on the toolbar allows you to export the entire contents of your CM subsystem, or to perform a customized export using a descriptor file called the data export descriptor (DED).
 To export content from the toolbar:
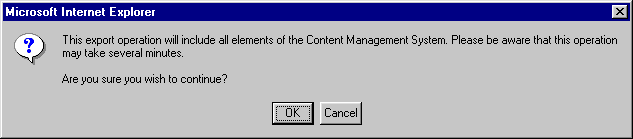
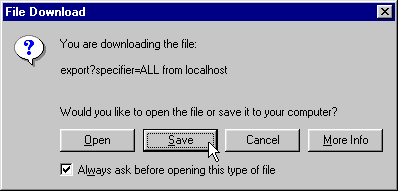
Click the Export button on the CMS Administration Console toolbar.
Click the Browse button and navigate to the DED file you want to use for this export.
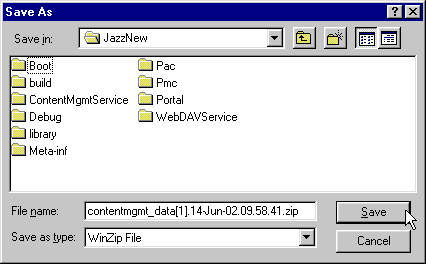
In the Save As dialog, navigate to the folder where you want to store the export archive, give the archive file a unique name, and click Save.
For more information about the archive, see Structure of the data import or export archive.
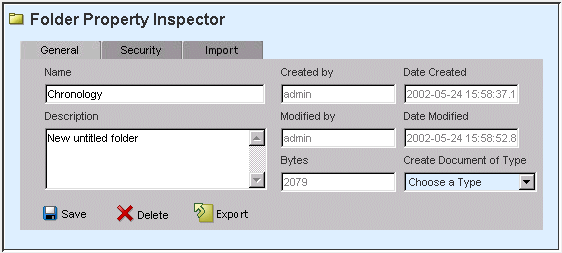
To export content from a Property Inspector:
Enter Content mode by clicking the Content button on the CMS Administration Console toolbar.
Select the starting point for the export by doing one of the following:
Follow Step 5, Step 6, and Step 7 in To export content from the toolbar: to name and save your export archive.
For a description of the contents of the export archive file, see Structure of the data import or export archive.
You can configure and customize the export process by editing the DED.
For more information, see Customizing imports and exports.
This section describes the import process and explains how to import data into your CM subsystem from the toolbar and the Property Inspectors.
NOTE: Before you import data, be sure to review the section Best practices and prerequisites.
Data not previously exported If you want to import data that was not previously exported from a CM repository, you can do this manually by assembling an import ZIP file, or programmatically using the CM API. For more information, see Customizing imports and exports.
Data previously exported If you are importing data that was previously exported from a CM repository—for example, as part of a moving or copying process—you import directly from the export archive so that the archive will automatically follow the required structure.
Unlike with exporting content (when you can configure the process only from the toolbar), when you are importing content you can configure the process regardless of the starting point. You do this by adding a data import descriptor (DID) to the import archive file or editing the existing file before performing the import.
NOTE: When you are importing previously exported CM data, the import archive will always contain a DID (called contentmgmt_did.xml) in the contentmgmt-inf folder.
For more information about the DID, see Customizing the data import descriptor (DID).
The Import button on the toolbar allows you to import CM data from an import archive into the Default folder of a repository.
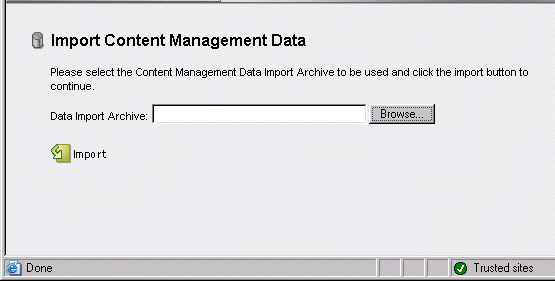
To import content from the toolbar:
Click the Import button on the CMS Administration Console toolbar.
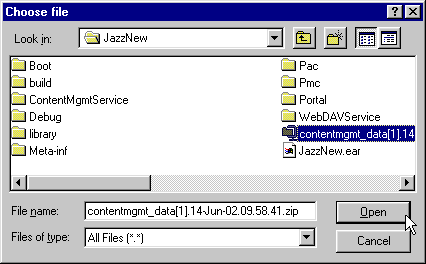
In the Choose File dialog, browse to the import archive you want to use and click Open:
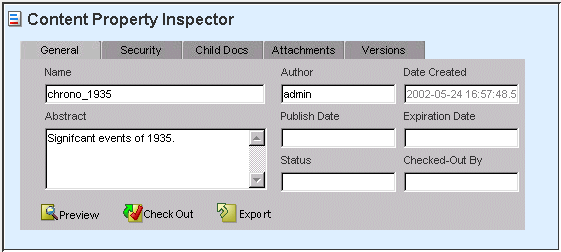
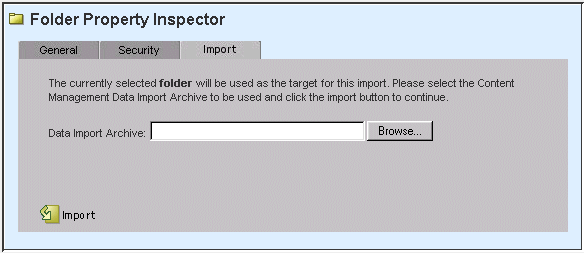
You can import from the Repository Property Inspector and the Folder Property Inspector (but not from the Content Property Inspector).
To import content from a Property Inspector:
Enter content mode by clicking the Content button on the CMS Administration Console toolbar.
Select the starting point for the import by doing either of the following:
In the Choose File dialog, browse to the import archive you want to use and click Open:
The following table shows the internal folder structure of a data import or export archive file and explains what each folder contains:
This section provides some notes on best practices for importing and exporting CM data.
If you are planning to export or import a very large amount of CM data, it is important to keep the memory capacity of your machines in mind as you plan your operation.
During an import or export operation, all objects representing elements of the repository must be present in memory at the same time. That means the amount of available memory imposes a practical limit on the size of a repository you can process in a single operation.
The best way to approach a large-scale operation is to export or import your source repository in logical chunks. For example, you might export all your document types in one operation, your fields in another operation, and so on, ending with exporting or importing your document content in manageable chunks according to the folder structure of your repository.
This section applies primarily to importing CM data that has been exported from another repository.
Permissions to establish in the import target The user who performs the export from the source repository must exist and must have the SearchAdmin WRITE permission in the target repository.
Users to create in the import target You need to make sure that if any documents were checked out at the time of export, the users to whom they are checked out have been created in the repository into which you are importing.
If these users do not exist in the import repository, the import will fail.
Copyright © 2004 Novell, Inc. All rights reserved. Copyright © 1997, 1998, 1999, 2000, 2001, 2002, 2003 SilverStream Software, LLC. All rights reserved. more ...