3.2 Account
Click the option in the main menu to access the accounts on your server. You use this page to search user accounts, edit user accounts, and to create and delete user accounts on your Novell Conferencing server
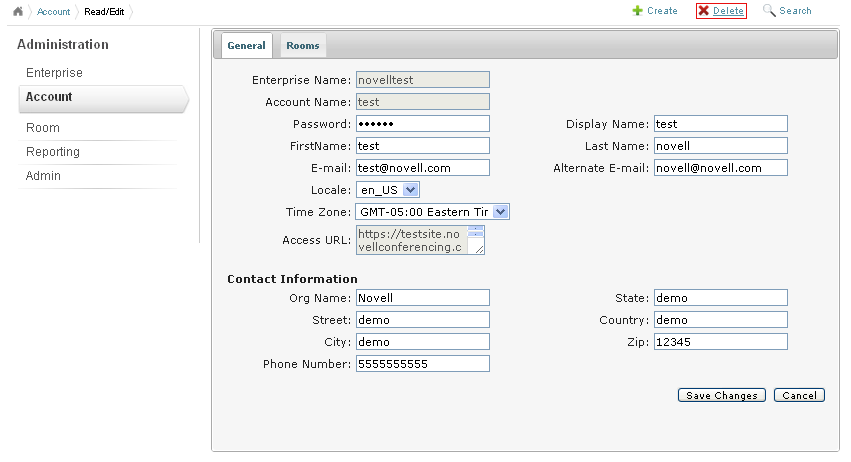
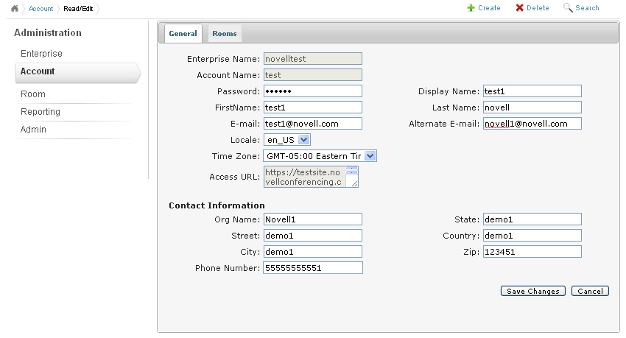
Figure 3-7 Account Page
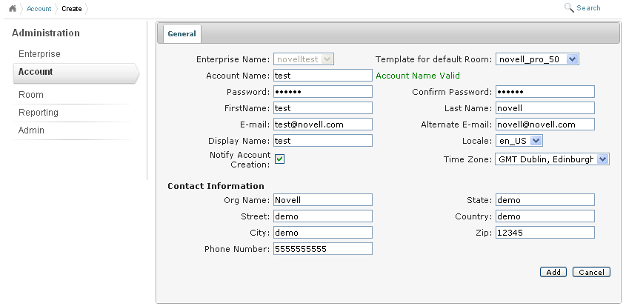
3.2.1 Creating an Account
-
Click the option in the main menu of the admin console.
-
Click the link in the top right corner to open the user creation form.

-
Fill in the details for the user account to be created, then click to create an account on your server.
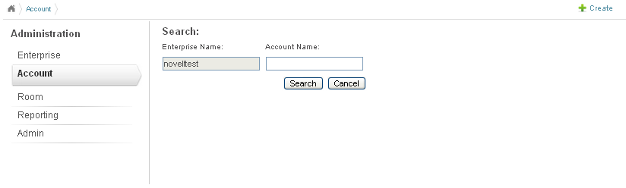
3.2.2 Searching for an Account
-
Click the option in the main menu of the admin console.
-
Specify the user ID in the text box and click .
or
If you do not know the account name, click the button to display all the accounts on your server.
3.2.3 Updating an Account
-
Click the option in the main menu of the admin console.
-
Specify the user ID in the text box and click .
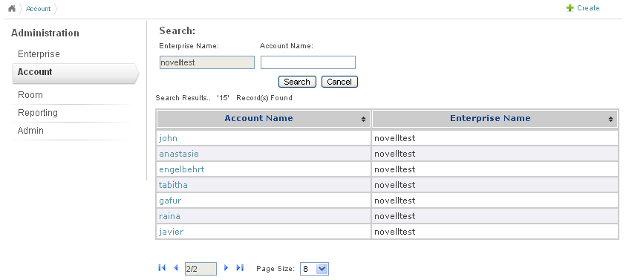
If you do not know the exact user ID, you can simply click the button and scroll through the list to find the account you want to update.
-
Click the name of the account you want to update (that is, click the hyperlink in the column of the table.)
-
Edit the account details as necessary, then click .
Use the information in General and Rooms to help you make changes to the account.
General
The tab allows you to edit or update contact information, the display name, first and last names, e-mail address, time zone, language, and the password for a user account that exists on the Novell Conferencing server.
For example, in the graphic below, an account that was originally named has been updated by appending the number 1 at the end of every name and contact information instance, except the account name/user ID.
Figure 3-8 An Updated Account
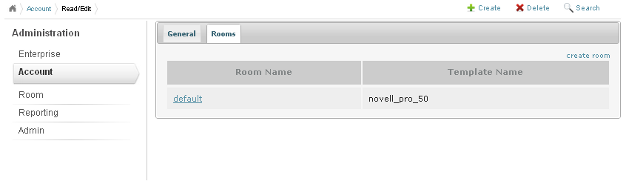
Rooms
The tab allows you to view the rooms that are available for a user ID.
-
To update the room settings associated with this particular user, click the room name hyperlink in the column.
You are redirected to the option form for the user:
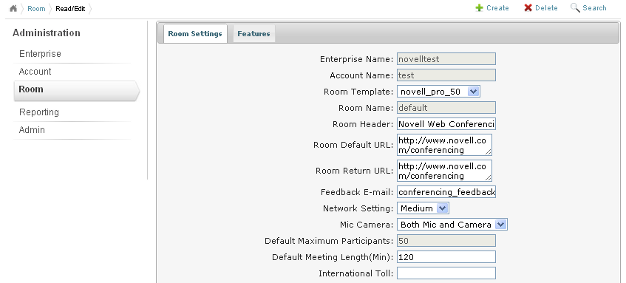
-
Use the information in Room to help you make changes to the user’s room.
3.2.4 Deleting an Account
-
Click the option in the main menu of the admin console.
-
Specify the ID of the account to be deleted and click the button.
or
If you do not know the exact user ID, click the button and scroll through the list to find the account you want to update.
-
Click the name of the account you want to delete (that is, click the link in the column of the table.)
-
Click the option in the top right corner to delete the account.