2.7 Managing the Messaging Server
As your Messenger system grows and evolves, you might need to reconfigure the server where the Messaging Agent runs or move Messaging Agent directories to different locations.
2.7.1 Binding the Messaging Agent to a Specific IP Address
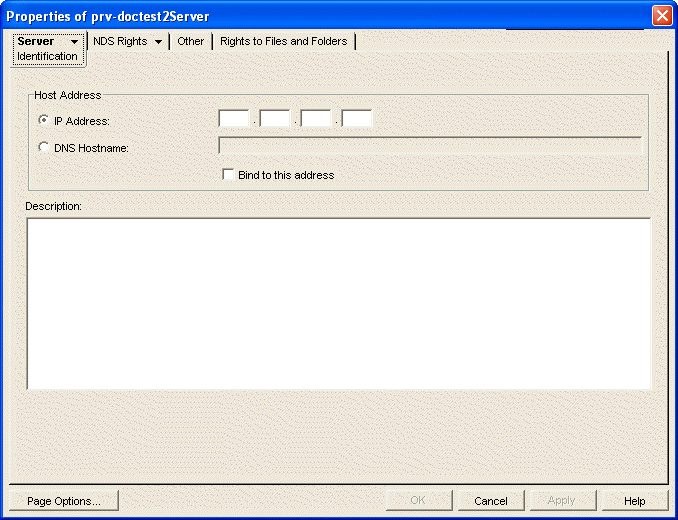
On a server with multiple IP addresses, the Messaging Agent binds to all available IP addresses, and Messenger clients can communicate with the Messaging Agent on all available IP addresses unless you bind them to a specific address.
-
Stop the Messaging Agent on the server.
-
In ConsoleOne, browse to and expand the MessengerService object.
-
Right-click the Messaging Agent object, then click .
-
Click >

-
Select , then specify the IP address, in dotted decimal format, that you want to bind the Messaging Agent to.
or
Select , then provide the DNS host name you want to bind the Messaging Agent to.
-
(Optional) Select .
-
Click to save the new address information.
-
Start the Messaging Agent.
2.7.2 Changing the Messaging Server's Network Address
If you change the IP address or DNS hostname of the server where the Messaging Agent is running, you must also update the server information for your Messenger system.
-
Stop the Messaging Agent on the server.
-
Reconfigure the server, following the appropriate procedure for the operating system (NetWare, Linux, or Windows).
-
In ConsoleOne, browse to and expand the MessengerService object.
-
Right-click the Messaging Agent object, then click .
-
Click > .

-
Select , then specify the server's new IP address.
or
Select , then provide the server's new DNS hostname.
-
Click to save the new network address information.
-
Start the Messaging Agent.
2.7.3 Moving the Messaging Agent Working Directory
The Messaging Agent uses its working directory for saving various temporary files during message processing.
-
Stop the Messaging Agent on the server.
-
Copy the Messaging Agent working directory to the desired location.
On NetWare and Windows, the Messenger working directory is \novell\nm\temp by default. On Linux, the default is /opt/novell/messenger/temp.
-
In ConsoleOne, browse to and expand the MessengerService object.
-
Right-click a Messaging Agent object, then click .
-
Click > .

-
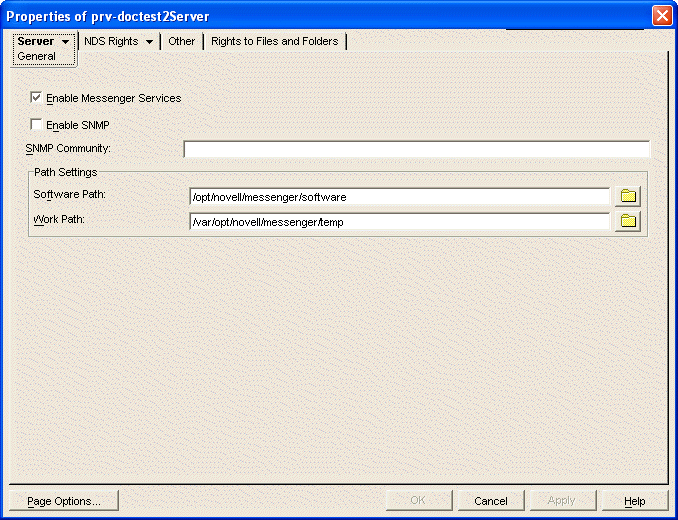
In the field, change the path to the working directory to the current location.
-
Click to save the new working directory location.
-
Start the Messaging Agent.
-
Delete the previous working directory to conserve disk space.
By default, the Messaging Agent and the Archive Agent use the same working directory if they are running on the same server, as specified on the tab of the Messenger Server object. If you want the Messaging Agent to use a separate working directory, you can specify the working directory on each agent object ( tab > page > field). The location specified for the Messaging Agent object overrides the location specified for the Messenger Server object.