24.3 Configuring a Volume for Compression
To use compression on a volume, set the volume’s Compression attribute to On. You can set the Compression attribute when you create a new volume or enable the attribute for an existing non-compressed volume.
After you enable compression for a volume, you can suspend compression, but you cannot turn the Compression attribute off. For more information, see Section 24.4, Suspending Compression for Volumes or Files.
IMPORTANT:You cannot use file compression on a volume on a CD or DVD drive.
24.3.1 Enabling Compression for a New Volume
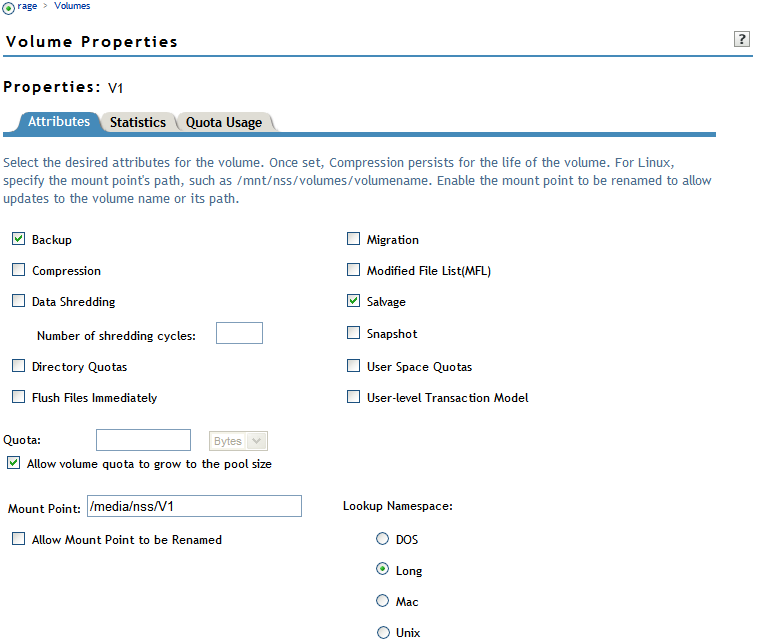
When you create a new volume, simply select the check box when you set the volume’s attributes. For information, see Section 19.3, Creating Unencrypted NSS Volumes.
24.3.2 Enabling Compression for an Existing Volume
-
In iManager, click to open the Volumes page.
For instructions, see Section 9.1.3, Accessing Roles and Tasks in iManager.
-
Select a server to manage.
For instructions, see Section 9.1.4, Selecting a Server to Manage.
-
From the list, select the volume that you want to manage.
-
Click .
This opens the to the page.

-
Select the check box to enable file compression for the selected volume.
IMPORTANT:After compression is enabled for a volume, you cannot deselect the check box to turn off compression. You can suspend compression or restore uncompressed data to an uncompressed volume. For information, see Section 24.4, Suspending Compression for Volumes or Files or Section 24.6, Restoring Data to a Uncompressed Volume.
-
Click or to save the change, or click to back out of the process.
If you click , iManager saves the change and remains on the Volumes page. If you click , iManager saves the change and takes you to the main Storage page. If you do not click or , the setting is not implemented; the volume remains uncompressed.