8.6 Managing Existing Index Files
After it is created, an index can then be edited or deleted. You can also view an index’s log file.
8.6.1 Editing an Index
-
On the QuickFinder Server Manager Global Settings page, click Manage in the row of the virtual search server that you want to work with.
-
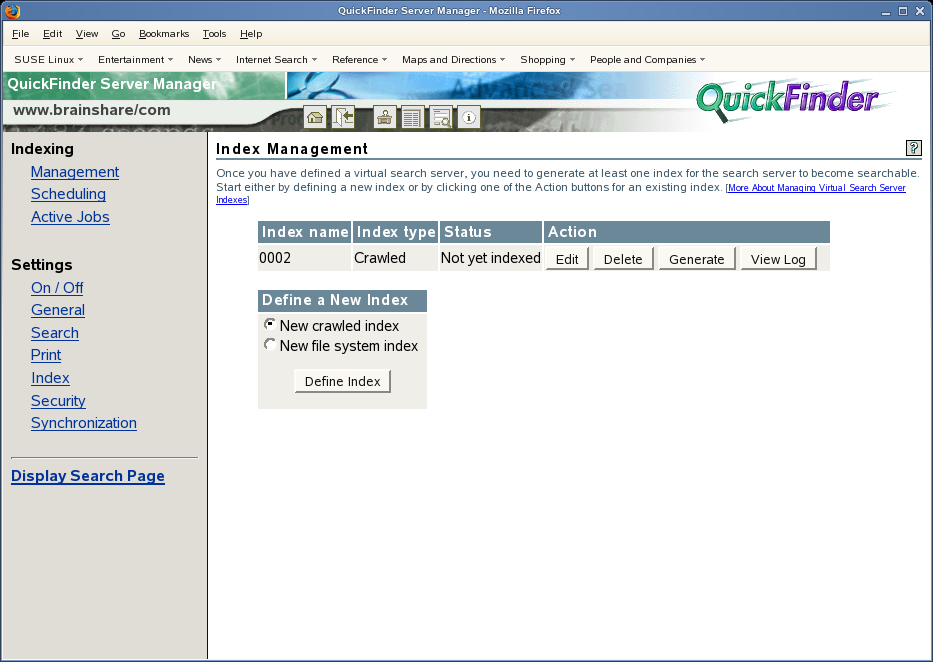
On the Index Management page, click Edit in the Action column of the index you want to work with.

-
Make any of the changes you need to, then click Apply Settings.
If you used the Advanced page to create the index, it appears automatically. However, you can also click Advanced Index Definition to make advanced changes to an index you created using the standard Index Definition page.
-
If you added new paths or URLs or modified any of the existing ones, you should regenerate the index to include the new content.
8.6.2 Deleting an Index
-
On the QuickFinder Server Manager Global Settings page, click Manage in the row of the virtual search server that you want to work with.
-
On the Index Management page, click Delete in the Action column of the index you want to delete.
-
On the Confirm Deletion of <indexname> page, click Delete Index to proceed, or click Cancel Deletion.
WARNING:After an index has been deleted, it cannot be restored. You must generate a new index.
8.6.3 Working with the Log File
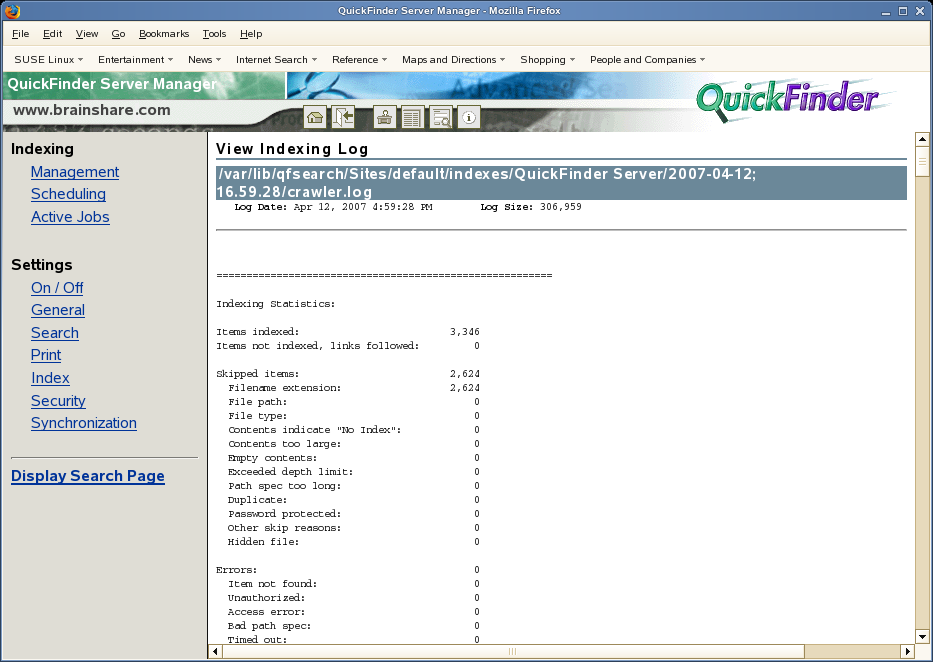
The purpose of the log file is to help you identify any errors (and their possible causes) during an indexing job.
In addition to reporting when the indexing job started and stopped, the log file also lists all files that were indexed, files that could not be found but were linked to, and even errors that might have occurred during the indexing process.
To view an index’s log file:
-
On the QuickFinder Server Manager Global Settings page, click Manage in the row of the virtual search server that you want to work with.
-
Click View Log in the Action column of the index that you want to work with.
-
Review the contents of the log file.

-
Click your browser’s Back button to return to the Index Management page, or click Management in the left frame of the QuickFinder Server Manager.