3.1 Creating a Workflow
The following procedures show you how to define a workflow, add the states it requires, and define the transitions it requires. The example used is the creation of a Paid Time Off (PTO) request workflow.
3.1.1 Defining a Workflow
-
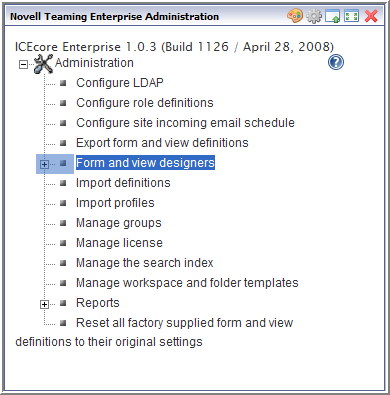
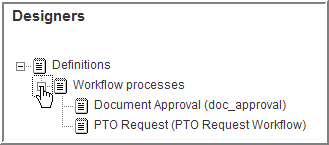
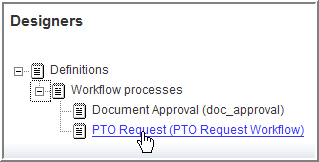
From the portlet on the initial Liferay portal window, click the plus sign (+) to the left of to expand this section and view the available designers. To add the portlet to the Liferay portal window, click the link in the upper right corner. This brings up a panel of portlets along the left margin. Expand the section to add more Novell Teaming features, such as the portlet.
-
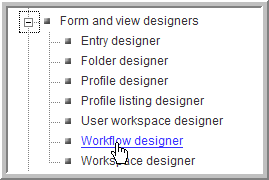
Click .
-
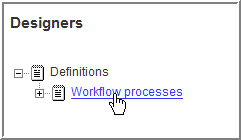
Click .
-
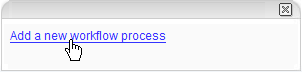
In the options dialog on the right, click .
-
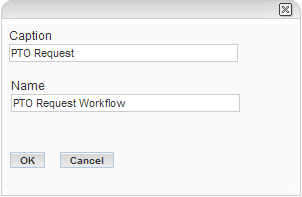
In the form that appears on the right, type the (workflow name) and (name that appears in Novell Teaming) for this workflow.
-
Click .
The PTO workflow is now defined in Novell Teaming.
3.1.2 Adding States to a Workflow
-
From the portlet on the initial Liferay portal window, click the plus sign (+) to the left of to expand this section and view the available designers. To add the portlet to the Liferay portal window, click the link in the upper right corner. This brings up a panel of portlets along the left margin. Expand the section to add more Novell Teaming features, such as the portlet.
-
Click .
-
Expand .
-
Click .
-
Click .
-
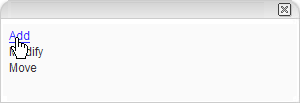
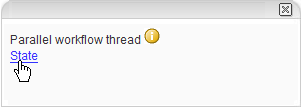
In the options dialog on the right, click .
-
Click to add a state to this workflow.
-
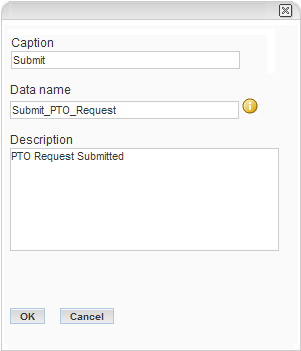
Type the (name used in Novell Teaming), (database name), and for this workflow as follows:
The is an internal-use database name. Names for elements in one definition must be unique. The first character must be an alphabetic character (a-z, A-Z). For the rest, legal characters are alphanumeric characters (a-z, A-Z, 0-9), hyphens (-), and underscores (_).
-
: Submit
-
: Submit_PTO_Request
-
: PTO Request Submitted
-
-
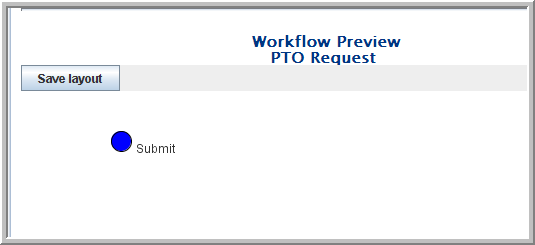
Click .
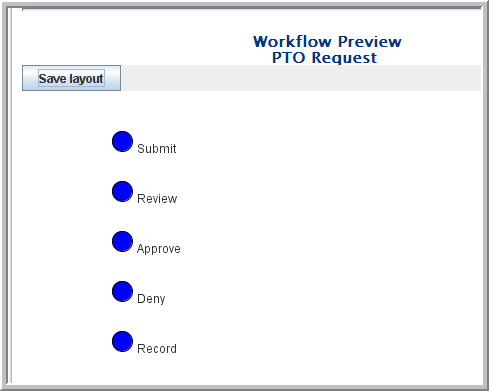
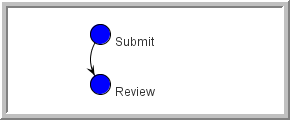
The new state is added to the workflow and appears in the Workflow Preview area at the bottom part of the window.
-
Repeat these steps to add the , , , and states.
NOTE:After the states are defined, the next step is to develop transitions that move an entry from one state to the next. You can also take action when a process enters into or exits from a state. For example, upon entry (or exit) you can send a notification, begin or end a parallel process, or set a variable.
3.1.3 Defining Manual Transitions for a Workflow
The following steps show you how to set up manual transitions (only manual transitions are available without the Advanced Workflow add-on module) between the states in this workflow.
-
From the portlet on the initial Liferay portal window, click the plus sign (+) to the left of to expand this section and view the available designers. To add the portlet to the Liferay portal window, click the link in the upper right corner. This brings up a panel of portlets along the left margin. Expand the section to add more Novell Teaming features, such as the portlet.
-
Click .
-
Expand .
-
Click .
-
Click .
-
Under , expand and click .

-
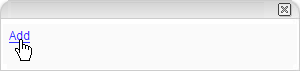
In the options dialog on the right, click .
-
In the options dialog, click .
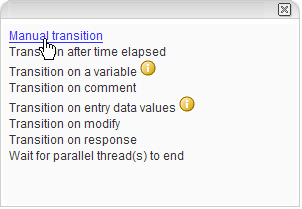
The is the only available transition in Novell Teaming unless you are using the Advanced Workflow add-on module.
-
In the list box, select and click .
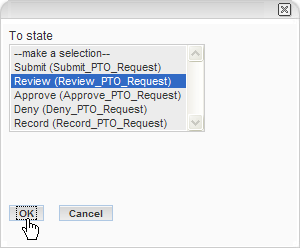
After you successfully complete the previous steps, the preview portion of the page displays an arrow in the flowchart that represents the newly defined transition.
-
Repeat these steps to create the following manual transitions:
-
to
-
to
-
to
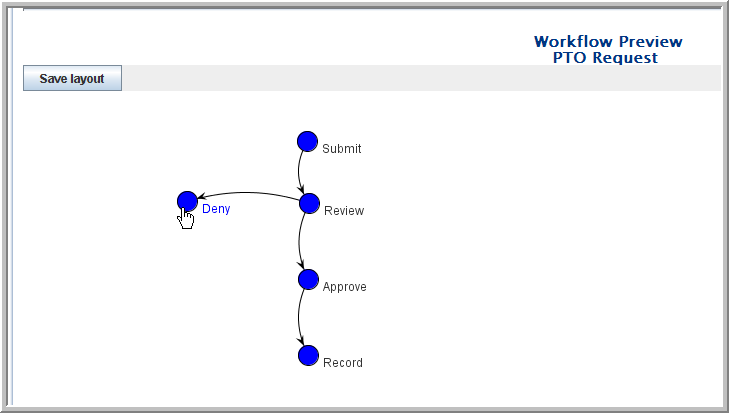
NOTE:You can drag each state to the position you want it to appear in the preview area and click to save these positions for ease of viewing.
-
3.1.4 Configuring a Folder to Use This Workflow
You need to configure each folder in which you want to use this new workflow. The following is an example procedure.
-
In Novell Teaming, go to the folder in Human Resources.
-
Select the menu item.
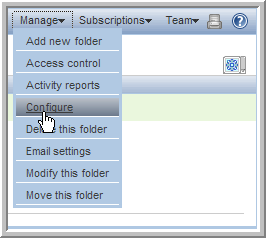
-
Under , select the option.
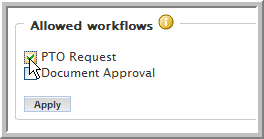
-
Click
-
Click .
User can now use the menu item when viewing entries in this folder.
3.1.5 Testing the New Workflow
After creating a minimally functional workflow process, you should verify that the transitions function properly. (At this state of its development, the process does not define specific access to the workflow based upon the participant. This means that any user with access rights to the folder that is associated with this workflow can transition the entry through the entire workflow.) This example uses John Waters.
-
Log in as John Waters (jwaters). See Section 2.2, Initial Logon.
-
Go to the folder in Human Resources.
-
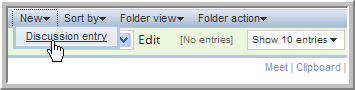
Click the menu item to add a discussion topic.
-
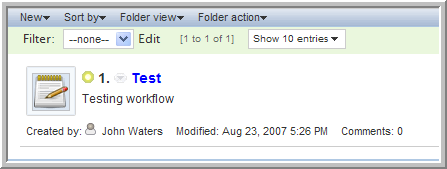
Type the and information and click .
The new entry appears in the folder.
-
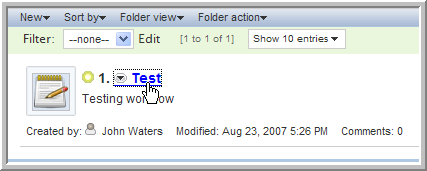
Click the entry title to view the entry.
-
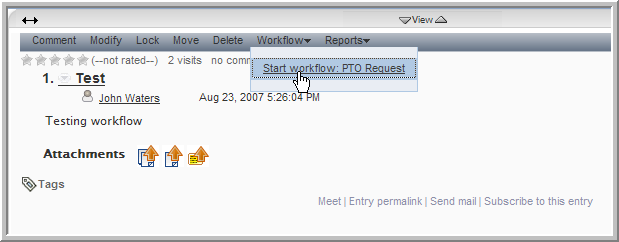
Select the menu item.
-
In the confirmation dialog that appears, click to start the workflow.
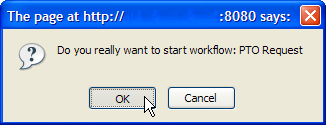
The workflow is added to entry with the entry in the initial state.
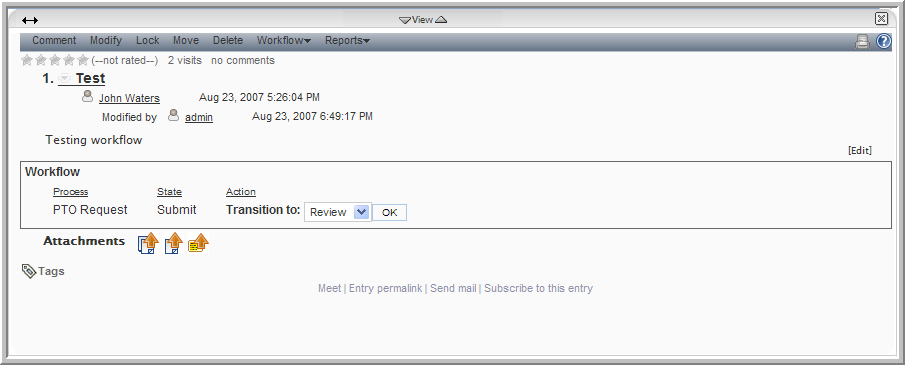
-
Select from the drop-down list and click .
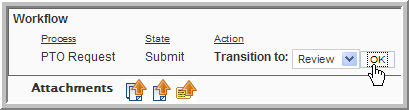
The should change to .
-
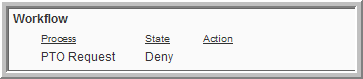
Select from the drop-down list and click .
The state should change to Deny and there should be no actions available (the Transition to: drop-down list should be gone), because there are no transitions from .
-
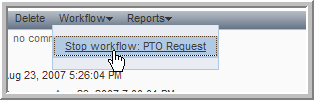
Select the menu item to stop the workflow process.
-
Select the menu item to start the workflow process.
-
Transition the entry through all the states (except ) until you reach (no transitions exist from ).
The manual transitions allow the user to change the state of this workflow, but in a real business process these transitions should be controlled by specific groups or individuals. The next section, Section 3.2, Setting Access Controls, deals with setting access controls in the workflow.