21.2 Modifying Workspace and Folder Templates
Novell Vibe enables you to modify default templates as well as custom templates that you have already created.
For information on how to create custom templates, see Section 3.5.3, Creating Workspace and Folder Templates.
-
Click the icon
 in the upper right corner of the page.
-
Under , click .

-
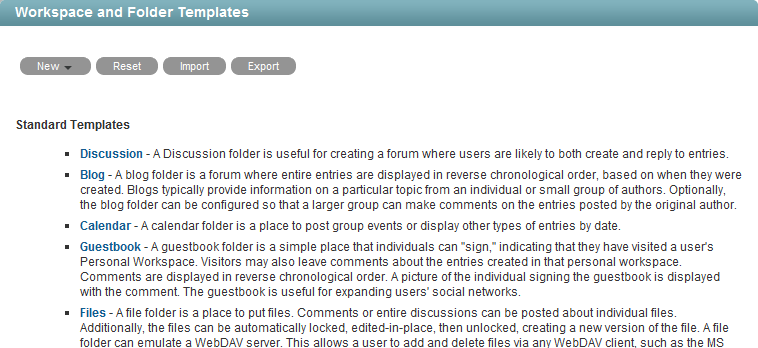
Click the workspace or folder template that you want to modify.
From this page you can do any of the following:
21.2.1 Deleting the Template
Deleting a template deletes the template and all sub-templates.
-
Click .
-
Click > .
21.2.2 Exporting the Template
-
Click .
-
Click > .
For information on how to export multiple templates simultaneously, see Section 21.3.2, Exporting Multiple Templates.
21.2.3 Renaming the Template
You can change the information that is displayed on the Add New Workspace page (or Add New Folder page), when users select which type of workspace they want to add.
-
Click .
-
Click .
-
Specify the following information:
Name: This is the internal database name.
Template Title: This name appears in the Add New Workspace page (or Add New Folder page) when users select which type of workspace they want to add.
Description: This description appears in the Add New Workspace page (or Add New Folder page) when users select which type of workspace they want to add.
-
Click .
21.2.4 Adding an Existing Workspace Template
You can add a workspace template to the template that you are currently modifying. The workspace template that you add becomes a sub-workspace to the main workspace. All template sub-workspaces and sub-folders that you add are preserved when the template is used in your Vibe site.
-
Click .
-
Click .
-
In the Currently Defined Templates section, select the workspace template that you want to add.
-
Click .
A cloned copy of the workspace template is added as a sub-folder to the main workspace.
21.2.5 Adding an Existing Folder Template
You can add a folder template to the template that you are currently modifying. The folder template that you add becomes a sub-folder to the main workspace or folder. All template sub-workspaces and sub-folders that you add are preserved when the template is used in your Vibe site.
You can add a folder template to the template that you are currently modifying.
-
Click .
-
Click .
-
In the Currently Defined Templates section, select the folder template that you want to add.
-
Click .
A cloned copy of the folder template is added as a sub-folder to the main folder or workspace.
21.2.6 Removing a Folder Template or Workspace Template from the Template
You can also remove folder or workspace templates that you previously added to the template that you are modifying (as described in Section 21.2.4, Adding an Existing Workspace Template and Section 21.2.5, Adding an Existing Folder Template.) Or you can remove folder or workspace templates that exist by default in the template that you are modifying. For example, you can remove the Files folder template from the User Workspace template.
-
Expand the workspace tree on the Workspace and Folder Templates page.
-
Select the workspace or folder template that you want to remove.
-
Click .
-
Click > .
21.2.7 Adding Access Controls to the Template
-
Click .
-
Click .
The Configure Access Control page is displayed.
For information on how to use this page, see Section 2.0, Planning and Controlling User Access to Workspaces and Folders.
-
After you have made your access control modifications, click .
An example of adding access controls to a template is described in Restricting Access to Personal Workspaces throughout the Vibe Site.
21.2.8 Adding a Data Quota to the Template
-
Click .
-
Click or , depending on if you are adding a quota to a folder or a workspace template.
The Manage Quota page is displayed.
For information on data quotas for workspaces and folders, see Section 20.3, Managing Workspace and Folder Data Quotas.
-
After you have set a data quota for the workspace or folder template, click .
21.2.9 Changing the Default View for the Template
-
Click .
-
Click .
The Configure Default Settings page is displayed.
-
In the section, select the default view that you want the template to have.
-
Click > .
21.2.10 Changing the Title, Description, Brand, and Icon for the Template
You can change the attributes of the template that are displayed in the workspace after the workspace is created.
-
Click .
-
Click .
-
Change the title, description, brand, and icon as desired, then click .
21.2.11 Modifying the Accessory Panel for the Template
Vibe enables you to modify the Accessory Panel in a template.
If the Accessory Panel already contains accessories, you can modify them; or, you can create new accessories. For information on how to modify and create accessories, see Managing Accessories
in the Novell Vibe OnPrem 3.1 User Guide.