3.2 Novell Credential Provider
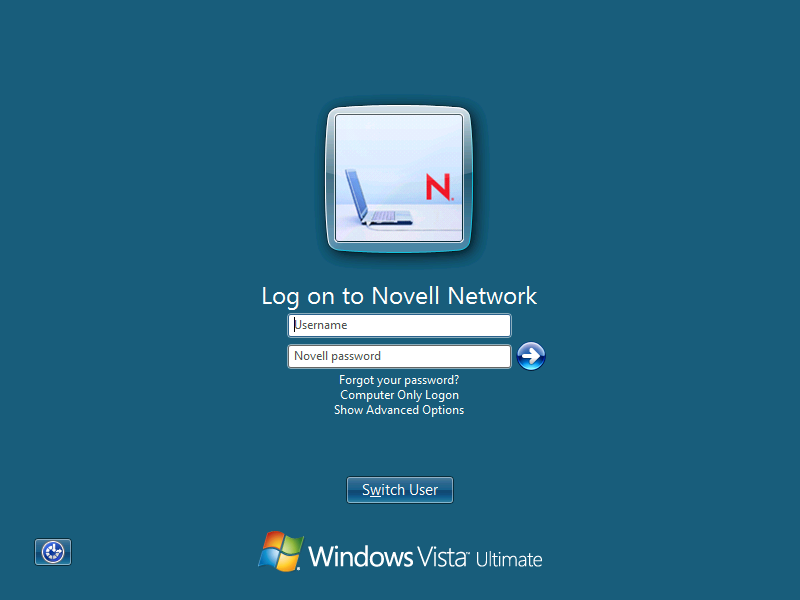
The Novell Credential Provider provides tiles that allow credential gathering for network and local workstation logon.
3.2.1 Logon
Because it is not possible to provide a logon tile that represents each individual user in a Novell eDirectory tree, only two logon tiles are displayed on the desktop.
Figure 3-2 Windows Welcome Screen When the Novell Client is Installed
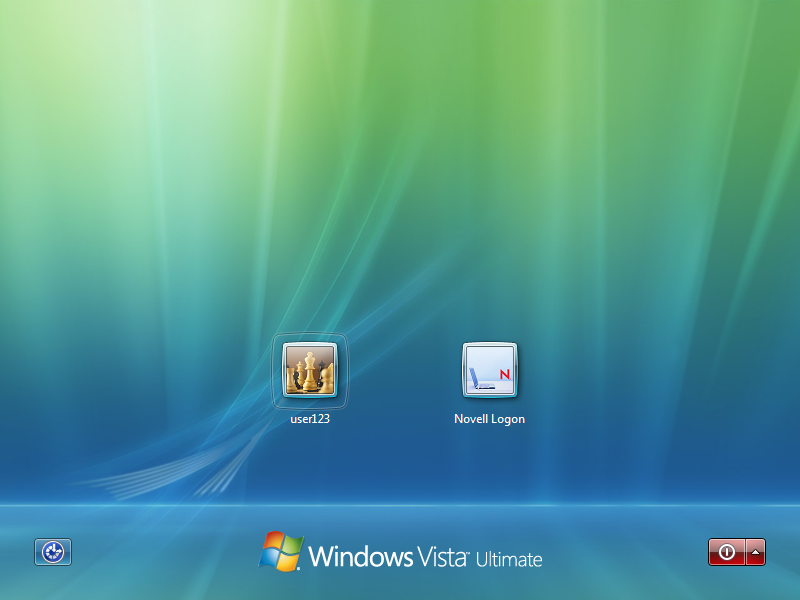
The first logon tile represents the last user who successfully logged on interactively. This tile is provided as a convenience for the single-user workstation, because it allows a user to log on interactively by simply entering his or her password.
The second logon tile allows the user to specify all necessary local and network credential information. This lets any eDirectory user log on interactively.
Figure 3-3 Novell Client for Windows Logon Screen
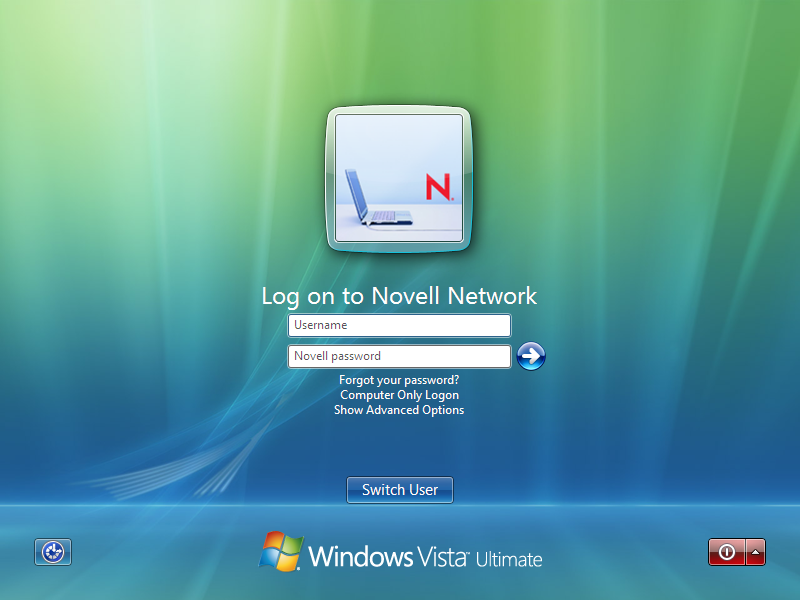
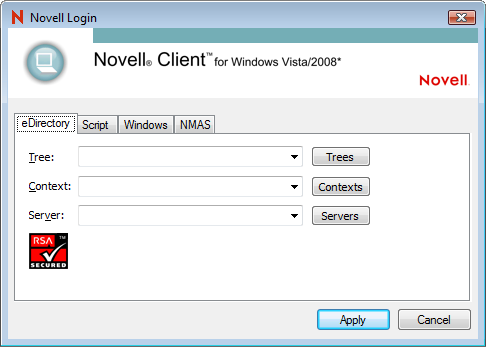
Each logon tile also allows the user to log in to only the local machine and bypass the network logon (using the option). The Novell logon tile also provides a link () that allows users to interact with the Novell Client for Windows Advanced Options dialog box, which lets users specify the eDirectory tree, context, and server they want to log in to.
Figure 3-4 Novell Client Login Advanced Options Dialog Box
3.2.2 Locking and Unlocking the Workstation
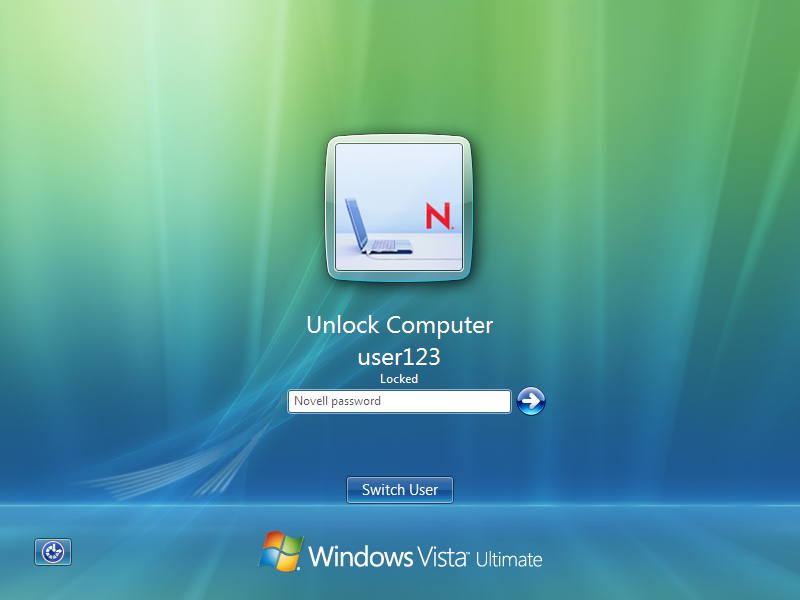
The Credential Provider supports locking and unlocking the Windows workstation. When the workstation is locked, a logon tile is displayed that represents the locked user's account. The user is required to enter the network and workstation passwords to unlock the workstation.
Figure 3-5 Novell Client for Windows Unlock Computer Screen
3.2.3 Fast User Switching
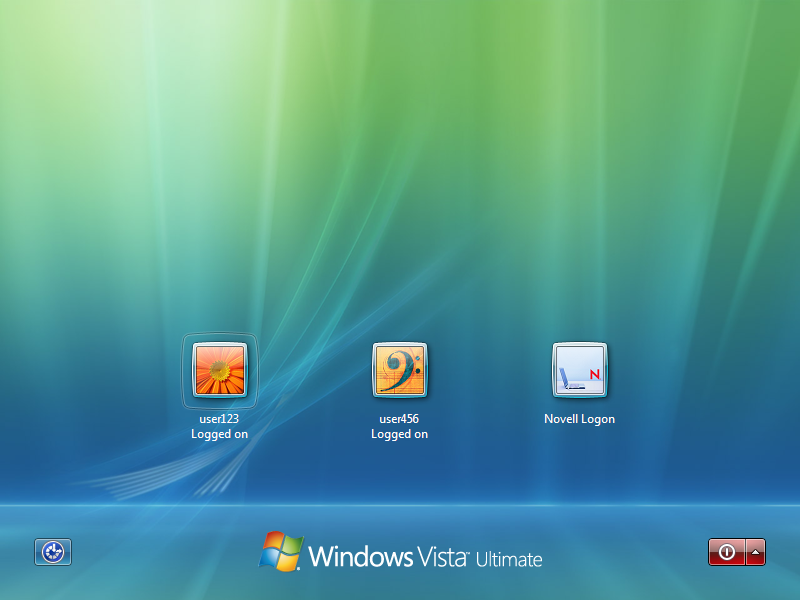
The Credential Provider supports fast user switching. Fast user switching allows two or more users to be logged into the workstation simultaneously. It also allows a user to switch to a different user account without closing programs and files. When a user chooses to switch users (by clicking the Start button, clicking the arrow next to the lock button, then clicking ), the Credential Provider displays a tile representing each logged-in user. It also displays the generic Novell Logon tile that allows a new user to log on interactively.
Figure 3-6 Novell Client for Windows Switch User Screen
To switch to a new user:
-
Click the button, then click the arrow next to the lock button.
-
Click .
-
Click the Novell Login tile.
-
Specify the credentials for a new user logon (either to eDirectory and Windows, or to Windows only by selecting the link), then click the right-arrow button.
NOTE:When logging in to a Windows workstation using the Novell Credential Provider, Novell connections made during the login will persist only if you are not currently logged in to the workstation. If your Vista account is already logged in, you will be restored to that existing session when you log back in to the workstation. This applies to both Fast User Switching and connecting via Remote Desktop Connection.
3.2.4 Logon Using Windows Server 2008 Terminal Services
On Windows Server 2008, specifically once Terminal Services has been installed, the Credential Provider switches to a mode in which the previous logged-on user is not displayed, nor are currently logged-on users displayed. This is intended to match Microsoft default credential provider behavior, which exhibits these same behaviors once Terminal Services is installed on Windows Server 2008.
Even though existing logged-on user sessions are not enumerated as visible tiles, it is still possible to re-connect with existing logged-on user sessions by specifying login information which ultimately matches the Windows account of the existing logged-on user session. (And, in the case of Windows Terminal Service Remote Applications, must also match the same TS RemoteApp as the current logon session is running.)
However, this behavior is entirely dependent upon the Windows Server 2008 policy . If users are not restricted to a single session, logging on with the Windows credentials of an existing logged-on session will still create an additional logon session instead of re-connecting to the existing logged-on user session."
Figure 3-7 Novell Client Credential Provider with Terminal Services Enabled
