4.1 Storing a User’s Personality Settings and Data
-
Before beginning the migration process, do the following:
-
Ensure that the ZENworks Personality Migration is installed on the source device. For more information, see Section 2.2, Installing ZENworks Personality Migration on Windows.
-
Close the applications whose settings you want to migrate. (You are also prompted to close any open applications upon launching ZENworks Personality Migration).
-
If you are migrating system settings and user settings across interconnected devices without using an intermediate file, you must make sure that the Windows Firewall has been enabled to treat the Personality Migration software as an exception, so applications can interact with each other. For more information, see Enabling ZENworks Personality Migration through the Windows Firewall.
-
If you want to migrate personality for multiple user accounts on the device, then log in as a user with administrator privileges.
-
-
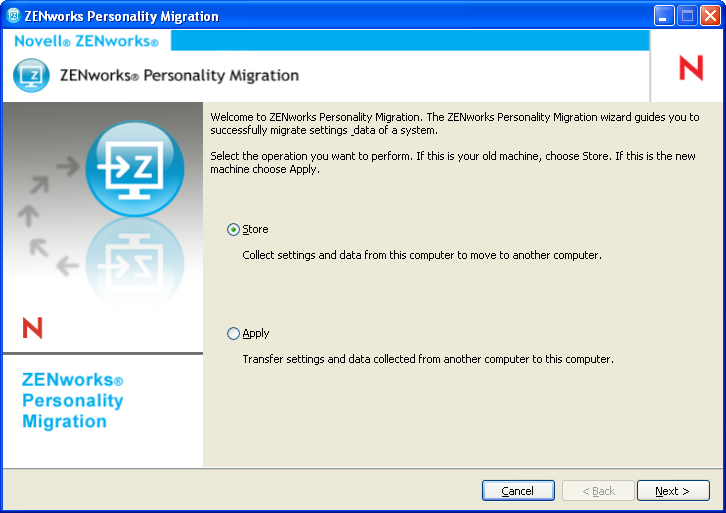
Use one of the following methods to launch ZENworks Personality Migration:
-
Double-click the ZENworks Personality Migration shortcut icon on the desktop.
-
Click > > > .
-
-
Click to store the user account information, system settings, application settings and data of the source system to a PNP (Platform Neutral Package) file.
-
Click to search the source system for the user information and the installed applications whose settings you can migrate.This can take several minutes.
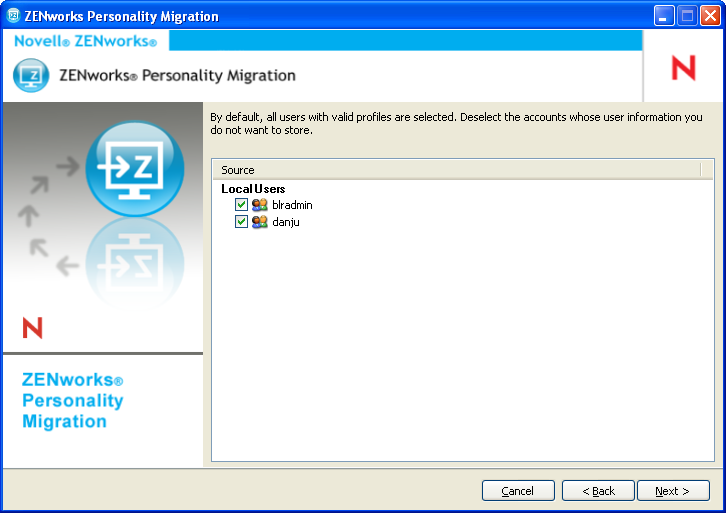
By default, all the user accounts listed are selected.
-
Deselect the user account whose settings you do not want to migrate
-
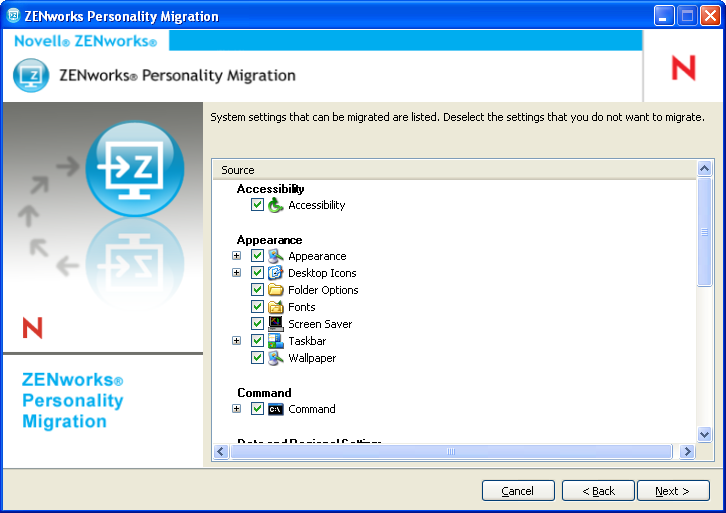
Click to deselect the system settings you do not want to migrate.
-
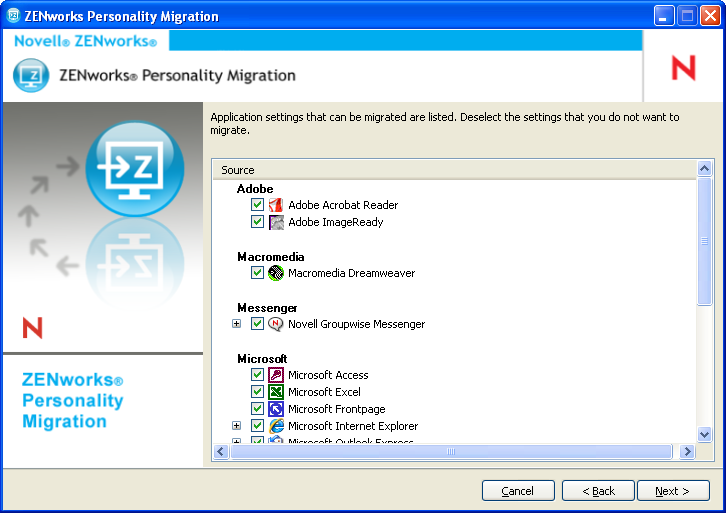
Click to deselect the application settings you do not want to migrate.
-
Click to deselect the files and folders you do not want to migrate.
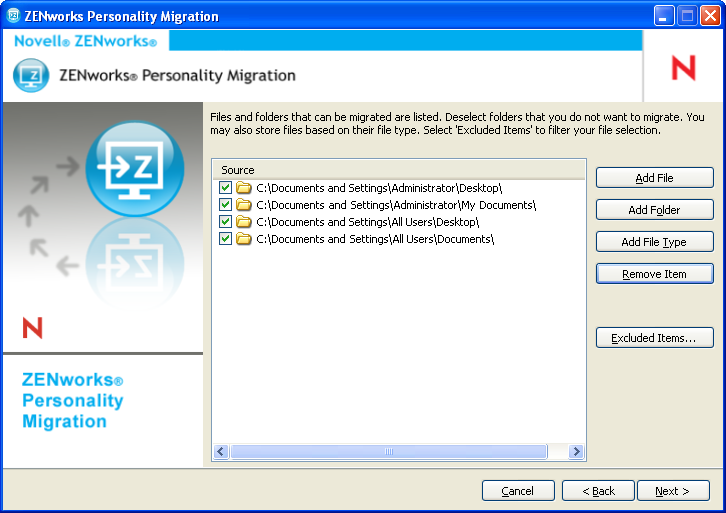
This page also enables you to add files, folders or files of a particular type to the list of migration files.
-
(Optional) Click to add a file to migrate. The added file is listed in the column.
-
(Optional) Click to add a folder to migrate. The added folder is listed in the column.
-
(Optional) Click to specify the types of files you want to migrate.
-
(Optional) Click to remove the highlighted item from the list of items to be migrated.
-
(Optional) Click to exclude any files and folders you do not want to migrate.
-
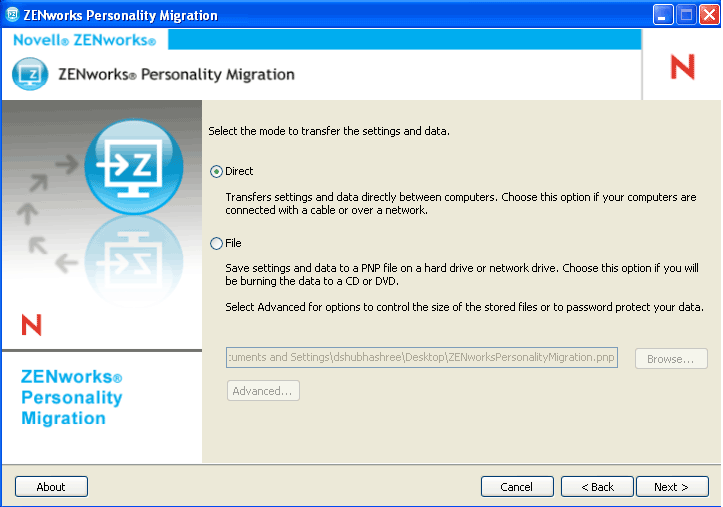
Click , then select the mode to transfer the settings and data. You can transfer the data either by Direct mode or File mode.
-
Direct: Provides real-time migration of settings and data between systems in the same subnet.
IMPORTANT:Do not migrate network settings in the Direct mode. For more information, see Section B.0, Troubleshooting Personality Migration. Alternatively, you can migrate the network settings in the File mode.
Continue with Section 4.1.1, Transferring Data by Using Direct Mode.
-
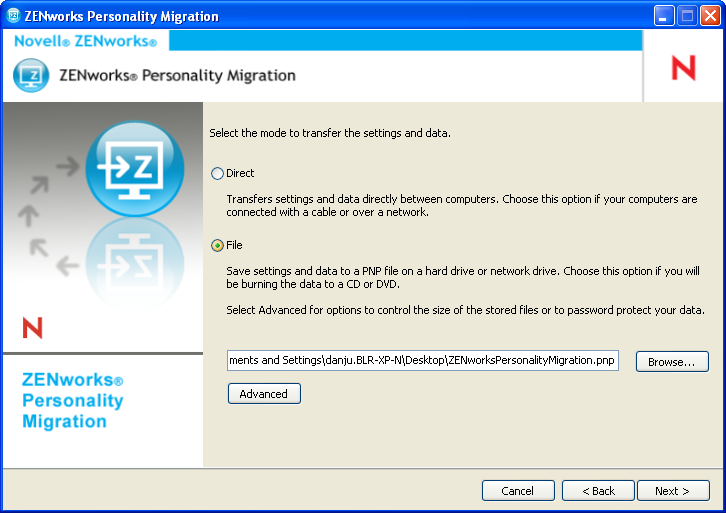
File: Stores the migration settings and data in a PNP file. Specify the filename or click to browse to and select the file to store the settings and data.
Continue with Section 4.1.2, Transferring Data by Using File Mode.
-
4.1.1 Transferring Data by Using Direct Mode
-
You must have performed Step 1 to Step 13 in Section 4.1, Storing a User’s Personality Settings and Data.
-
Be sure that ZENworks Personality Migration is enabled through the Windows Firewall. If it is not enabled, see Enabling ZENworks Personality Migration through the Windows Firewall.
-
Select , then click The source system waits for the destination system to connect.
-
On the destination system where ZENworks Personality Migration is installed, select the source system whose settings and data you want to apply.
-
Click to apply the settings and data on the destination device.
Continue with Step 6 in Section 4.2, Applying a User’s Personality Settings and Data.
Enabling ZENworks Personality Migration through the Windows Firewall
If you are migrating personalities across devices on a network by using the Direct mode, you must enable the Windows Firewall to detect certain exceptions.
-
Click > .
-
Double-click to open the Windows Firewall dialog box.
-
Click the tab.
-
In the list, check to see if ZENworks Personality Migration and ZENworks Personality Core exceptions are available and selected. If they are, proceed to Step 7.
-
If the exceptions are not available in the list, then click .
-
Browse to the Personality Migration installation folder and select the PersonalityMigration.exe and PersonalityMigrationCore.exe files.
-
Click .
4.1.2 Transferring Data by Using File Mode
-
You must have performed Step 1 to Step 13 in Section 4.1, Storing a User’s Personality Settings and Data.
-
Select .
-
Click to display the Advanced File Options dialog box.
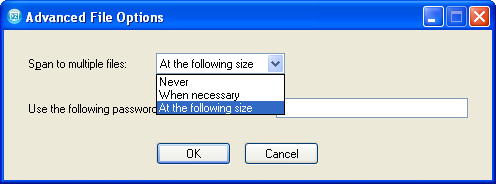
ZENworks Personality Migration can store the settings and data from your system in multiple files. By default, it creates 650 MB files. The maximum span size is 2 GB. The option allows you to control the size of the Personality Migration output files.
The option password protects the data files that Personality Migration generates. You are prompted for the password when you apply the settings on the destination machine.
-
Click to close the Advanced File Options dialog box.
-
Click to display the progress of the settings and files being stored.
-
Click to review the results. The errors are displayed in red color.
-
Click to complete the store process.