Remove the Windows share from your server's C:\NOVELL folder > share D:\NOVELL as SYS:.
If you do not change the share to the same folder as your eDirectory root folder (D:\NOVELL), your ZENworks installation will fail.
Insert the ZfD 3.2 Program CD into the CD drive of your Windows 2000 server. Autorun will start the WinSetup installer.
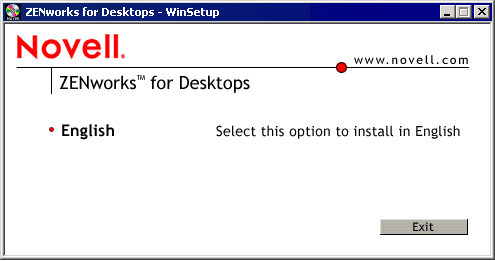
In the ZENworks for Desktops - WinSetup window, click English > Install ZENworks.
In the Warning dialog box, read the message carefully > click Yes.
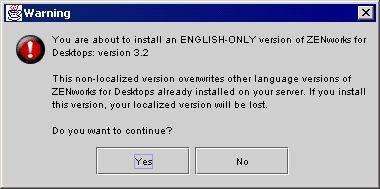
Currently, ZfD 3.2 is slated for localization in English, French, and German only.
In the Novell Product Installation window, click Next.
In the License Agreement window, click Accept.
In the Install Prerequisites window, click Accept.
In the ZENworks Install Types Window, select the Custom option > click Next to display the ZENworks Install Types window.
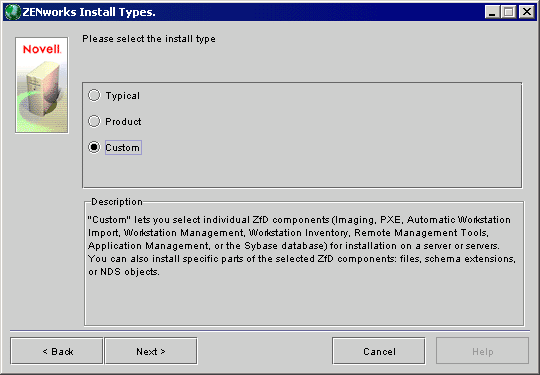
Selecting the Custom option ensures that all setup options will be presented during setup.
In the ZENworks Components screen, ensure that all options are selected, including the Sybase option > click Next.
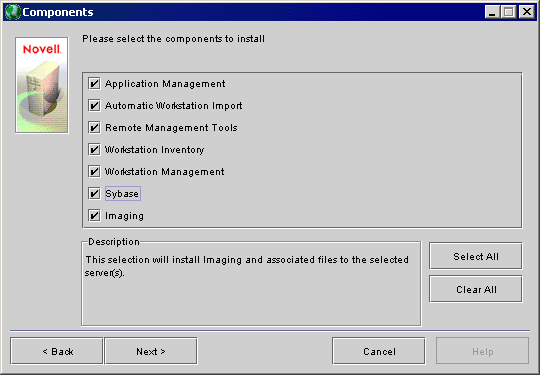
The Sybase* option installs the Sybase database for the Inventory Server. For information about using Oracle*, see Configuring the Inventory Database for Oracle on a Windows NT/2000 Server in Workstation Inventory in ZENworks for Desktops 3.2 Deployment Guide.
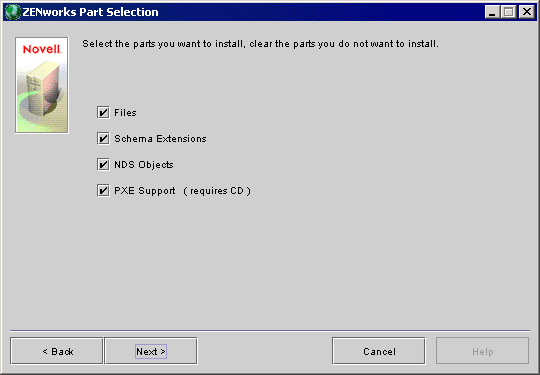
In the ZENworks Part Selection screen, ensure that all options are selected > click Next.
If you do not have the CD for ZfD 3.2 Preboot Services, disable the PXE Support option.
In the ZENworks List of Trees window, select the DA_TREE option > click Next.
In the ZENworks List of Servers window, select the DA-02-NDS server > click Next.
In the Inventory Database Server Selection screen, select the DA-02-NDS server > click Next.
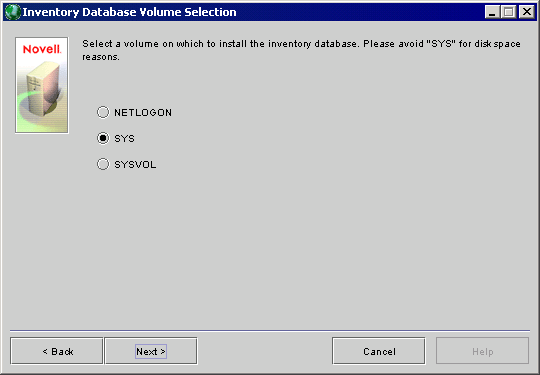
In the Inventory Database Volume Selection window, select the SYS option > click Next.
IMPORTANT: Important: Never use SYS in a production environment.
A pop-up notice will warn you that the server will load some components (the Sybase SQL server) during install. Click OK to proceed.
At the Languages window, click Next.
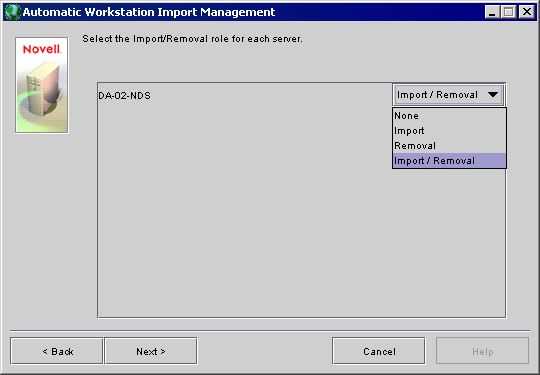
In the Automatic Workstation Import Management window, select Import/Removal > click Next.
In the Inventory Server Roles window, leave the default inventory role of Standalone > click Next.
This server will not take part in multi-site inventory roll-up.
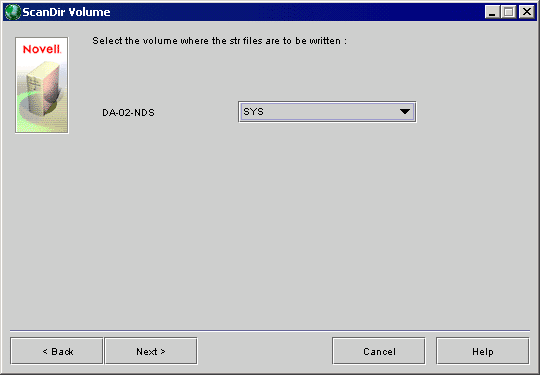
In the ScanDir Volume window, select the SYS volume > click Next.
IMPORTANT: Do not use SYS in a production system.
The specified share is used to store .STR files. Store files temporarily hold workstation inventory data before it is stored in the database.
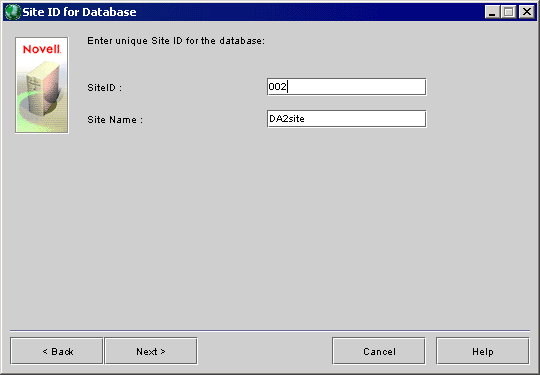
In the Site ID for Database window, enter 002 in the SiteID field and DA2site for Site Name > click Next.
The Site ID is a three-digit number unique to this inventory server. The Site Name is a unique name for the site.
In the Site ID for Database warning screen, click OK.
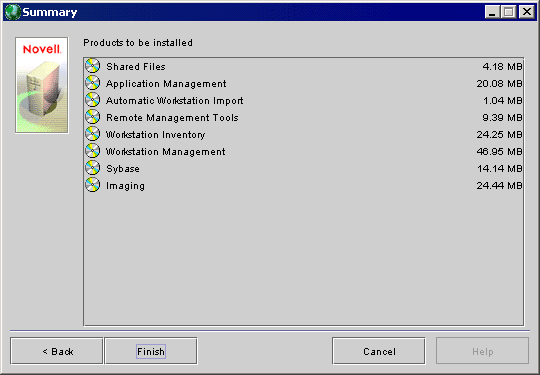
In the Summary window, click Finish and the file copy will begin.
When you see the ZfD 3.2 Preboot Services window, remove the ZfD 3.2 Program CD and insert the Preboot Services CD > click OK. (This step occurs only if you selected to install PXE Support in Step 10.)
When you see the ZfD 3.2 Installation window, remove the ZfD 3.2 Preboot Services CD and replace it with the Program CD > click OK.
If you receive a prompt asking how to handle overwriting newer files, click Never Overwrite Newer Files.
After the installation, an install log will appear in Notepad. Review the log for errors > click Close.
IMPORTANT: Do not reboot the server yet. Proceed to the next section.
