6.2 Confirm Devices
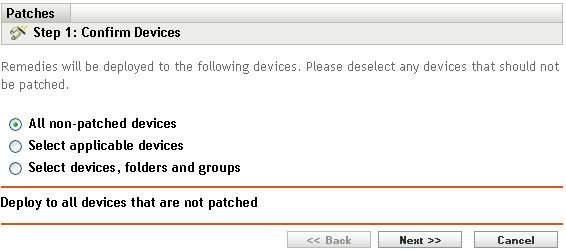
The Confirm Devices page allows you to select and confirm the devices for which you need to schedule a deployment. Confirming the device is the first step in scheduling a deployment for a selected patch.
Figure 6-1 Confirm Devices Page
The page indicates the total number of devices to which the selected patch will be deployed. In the following example, two devices will receive the patch:
Figure 6-2 Total Number of Devices

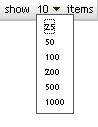
You can choose the total number of items to be displayed on the page by using the drop-down list:
Figure 6-3 Show Items
-
Select the devices for deployment, then click the button to open the License Agreement page.
-
Select one of the following options to determine the devices to which the patches are to be deployed.
-
Choose devices to deploy the patch to those devices that are in a non-patched state, then continue with Section 6.2.1, Confirm Devices: All Non-patched Devices.
-
Choose to deploy the patch to specific devices, then continue with Section 6.2.2, Confirm Devices: Select Applicable Devices.
-
Choose to deploy the patch to specific devices, folders, or groups that are in a non-patched state. Then, continue with Section 6.2.3, Confirm Devices: Select Devices, Folders, and Groups.
-
6.2.2 Confirm Devices: Select Applicable Devices
When you select , the Confirm Devices page appears as shown in the following figure:
Figure 6-4 Confirm Devices Page for the Select Applicable Devices Type
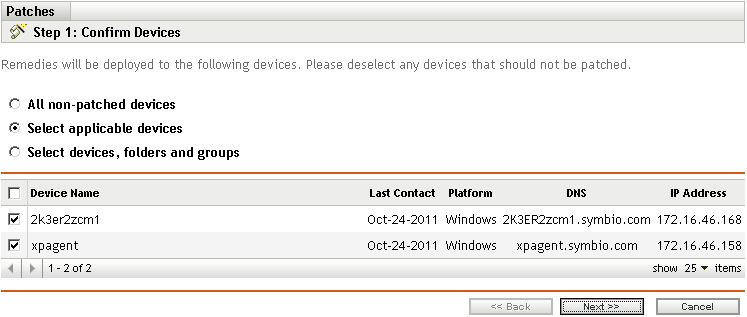
Selecting this option deploys the patch to the devices you select from the devices list. You can deploy a patch to a device regardless of its existing patch status, which can be patched or not patched.
NOTE:If you deploy a patch from the Patch Management page, the list of devices that appears is based on the patch filter you choose.
Table 6-1 Confirm Devices Page Column Headings
|
Column Heading |
Description |
|---|---|
|
|
The name of the device. The name of the device registered with Novell ZENworks 11 SP3 Patch Management to which the patch is to be deployed. |
|
|
The status of the device when they were last contacted. |
|
|
The operating system of the device. |
|
|
The name of the DNS server. |
|
|
The IP address of the device. |
6.2.3 Confirm Devices: Select Devices, Folders, and Groups
When you select , the Confirm Devices page appears as shown in the following figure:
Figure 6-5 Confirm Devices Page for the Select Devices, Folders and Groups Type
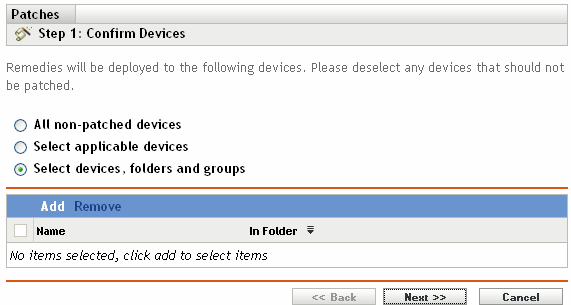
To select a device, folder, or group for deployment:
-
Click the menu item on the Confirm Devices page. The following window appears:

-
Click the arrow next to the option on the left side of the window to display the available devices, folders, and groups.
-
Click the desired device to add it to the panel on the right side of the window.
or
To remove a device from the panel, click the button in the column for that device.
-
Click to confirm device selection.
The window closes and the Confirm Devices page displays the selection.
You can remove a device from the list by selecting it and clicking the menu item.