3.9 Reconfiguring Your Synchronizer System to Reflect Network Changes
As time passes, you might make changes to your overall network configuration that affect your Synchronizer system.
3.9.1 Changing the IP Address of the Synchronizer Server
Changing the IP Address for a Small Synchronizer System
For a Synchronizer system with just a small number of users, the simplest approach is to reinstall the Synchronizer software.
-
Uninstall the Synchronizer software, as described in:
-
Change the IP address of the server.
-
Reinstall the Synchronizer software, as described in:
-
Instruct your mobile device users to delete their accounts from their mobile devices, set them up using the new IP address, then reinitialize their mobile devices.
Changing the IP Address for a Large Synchronizer system
For a Synchronizer system with a large number of users, where having users reinitialize their mobile devices after reinstalling the Synchronizer software could be problematic, you can reconfigure your Synchronizer system with a new IP address, then have users changes the IP address that their mobile devices use to access the Synchronizer system.
-
Stop the Synchronizer services:
rcdatasync stop
-
Change the IP address of the server.
-
Clear event notifications to the POA that refer to the old IP address:
-
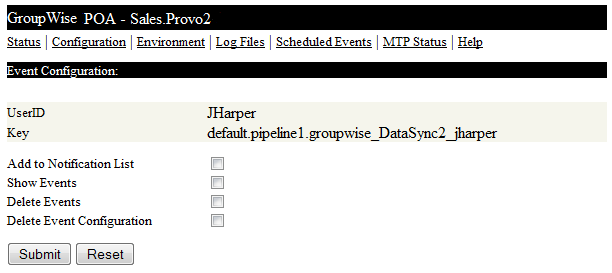
In the POA Web console, click , then scroll down to the section.

-
Click to list all Synchronizer users on that POA.
-
Click each user name to display the Event Configuration page.

-
Select and , then click .
-
Restart the POA.
-
-
Start the Synchronizer services:
rcdatasync start
Because the Sync Engine is configured with neutral IP address and hostname information, it starts successfully even though the IP address of the server has changed.

-
Instruct your mobile device users to reconfigure their accounts with the new IP address.
3.9.2 Updating the LDAP Password
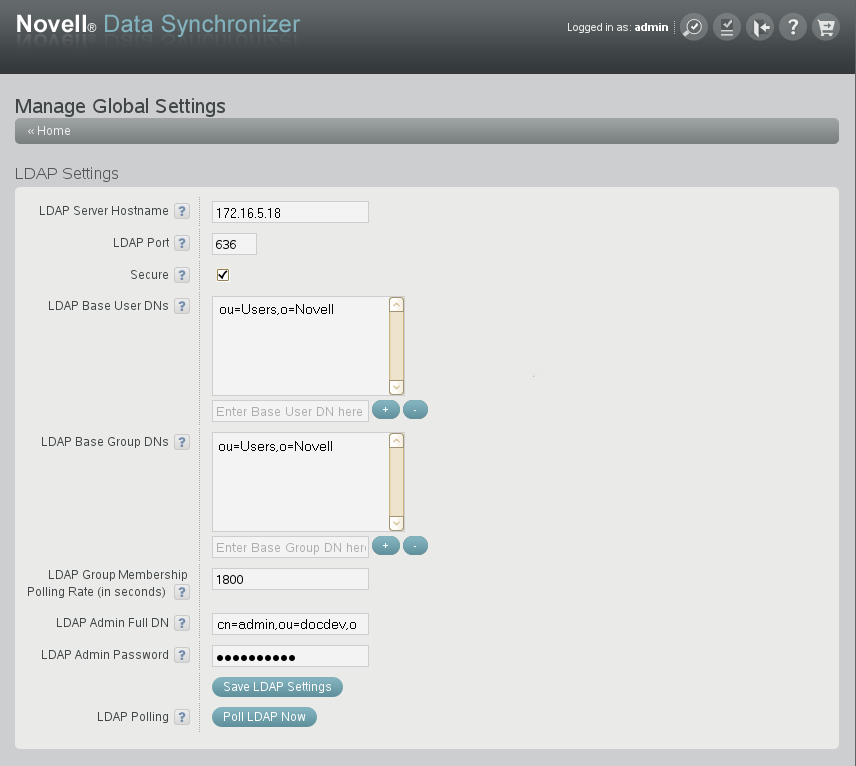
If you change the administrator password on your LDAP server, you must reconfigure your Synchronizer server to match the new password.
-
In Synchronizer Web Admin, click
 ().
().

-
In the field, specify the new password, then click .
-
Restart the Synchronizer services:
rcdatasync restart