5.4 Setting Up GroupWise WebAccess
5.4.1 Linux: Setting Up GroupWise WebAccess
If you are new to Linux, you might want to review Linux Commands, Directories, and Files for GroupWise Administration
in the GroupWise 2012 Administration Guide before you install the GWIA on Linux.
Preparing the Linux Server for GroupWise WebAccess
-
Make sure that the Web server where you are installing the WebAccess Application meets the system requirements listed in Section 5.2, WebAccess System Requirements.
-
Make sure that the Linux server has a static IP address.
-
Make sure that the firewall on the server has the ports open that are used by the Web server and the WebAccess Application.
For assistance, see
GroupWise Port Numbers
in the GroupWise 2012 Administration Guide. -
Make sure that the POA that the WebAccess Application will communicate with has SOAP enabled on a secure SSL connection, as described in Section 5.3.4, Connecting the WebAccess Application with Supporting Agents.
-
Continue with Installing the Linux WebAccess Software.
Installing the Linux WebAccess Software
-
In a terminal window on the Web server where you want to install the WebAccess Application, log in as root, then provide the root password.
-
Change to the root directory of the downloaded GroupWise 2012 software image.
or
If you have already copied the WebAccess Application software to a software distribution directory, change to /opt/novell/groupwise/software.
-
Run ./install.
The X Window System is required for running the GUI GroupWise Installation program. If you are not using the X Window System, you can install GroupWise components individually, as described in Installing GroupWise Components Using the Text-Based Installation Program.
-
Select the language in which you want to run the GroupWise Installation program, then click .
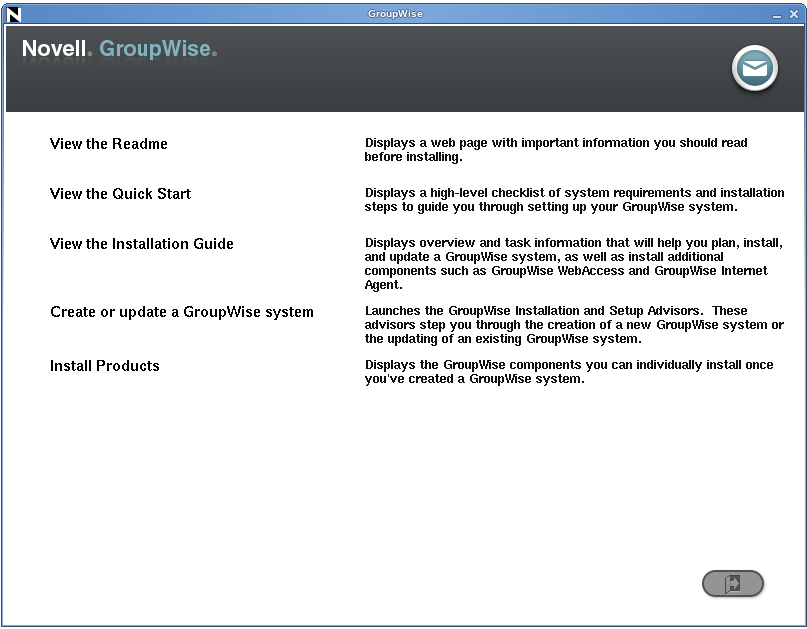
The main GroupWise System Installation page appears.
-
Click to install the WebAccess software.
-
When the installation is complete, click .
-
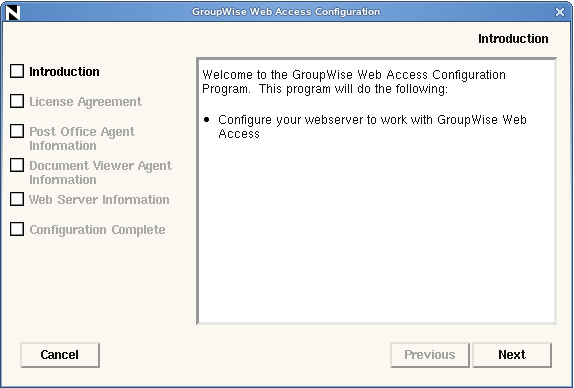
Click .
-
Click , accept the License Agreement, then click .
-
Follow the prompts to configure the WebAccess using the following information from the GroupWise WebAccess Installation Worksheet:
-
On the Configuration Complete page, click to exit the WebAccess Installation program.
The WebAccess software is installed to the following directories:
/opt/novell/groupwise/webaccess
/etc/opt/novell/groupwise/webaccess
/var/opt/novell/groupwise/webaccess
It so also integrated with Tomcat.
-
Exit the GroupWise Installation program.
-
Start the DVA that you configured the WebAccess Application to communicate with.
For example, if the DVA is installed on the same server with the WebAccess Application, use:
rcgrpwise start gwdva
For more information about the DVA, see
Document Viewer Agent
in the GroupWise 2012 Administration Guide. -
Restart Apache and Tomcat:
OES 11
rcnovell-tomcat6 stop
rcapache2 stop
rcapache2 start
rcnovell-tomcat6 start
OES 2 Linux:
rcnovell-tomcat5 stop
rcapache2 stop
rcapache2 start
rcnovell-tomcat5 start
SLES 11
rctomcat6 stop
rcapache2 stop
rcapache2 start
rctomcat6 start
SLES 10:
rctomcat5 stop
rcapache2 stop
rcapache2 start
rctomcat5 start
-
Make sure that Apache and Tomcat restart automatically when the server reboots:
OES 11:
chkconfig apache2 on
chkconfig novell-tomcat6 on
OES 2 Linux:
chkconfig apache2 on
chkconfig novell-tomcat5 on
SLES 11:
chkconfig apache2 on
chkconfig tomcat6 on
SLES 10:
chkconfig apache2 on
chkconfig tomcat5 on
5.4.2 Windows: Setting Up GroupWise WebAccess
Preparing the Windows Server for GroupWise WebAccess
-
Make sure that the Web server where you are installing the WebAccess Application meets the system requirements listed in Section 5.2, WebAccess System Requirements.
-
Make sure that the Windows server has a static IP address.
-
Make sure that the firewall on the server has the ports open that are used by the Web server and the WebAccess Application.
For assistance, see
GroupWise Port Numbers
in the GroupWise 2012 Administration Guide. -
Make sure that the POA that the WebAccess Application will communicate with has SOAP enabled on a secure SSL connection, as described in Section 5.3.4, Connecting the WebAccess Application with Supporting Agents.
-
Continue with Installing the Windows WebAccess Software.
Installing the Windows WebAccess Software
-
On the Web server where you want to install the WebAccess Application, change to the root directory of the downloaded GroupWise 2012 software image.
or
If you have already copied the WebAccess Application to a software distribution directory, change to that location
-
Run setup.exe.
-
(Conditional) If prompted, select the interface language for the Installation program, then click .
On Windows, the GroupWise 2012 software image can be downloaded in a multilanguage version or an English-only version. When you install from the multilanguage version, all languages are always installed, regardless of the specific language that you select for running the Installation program.
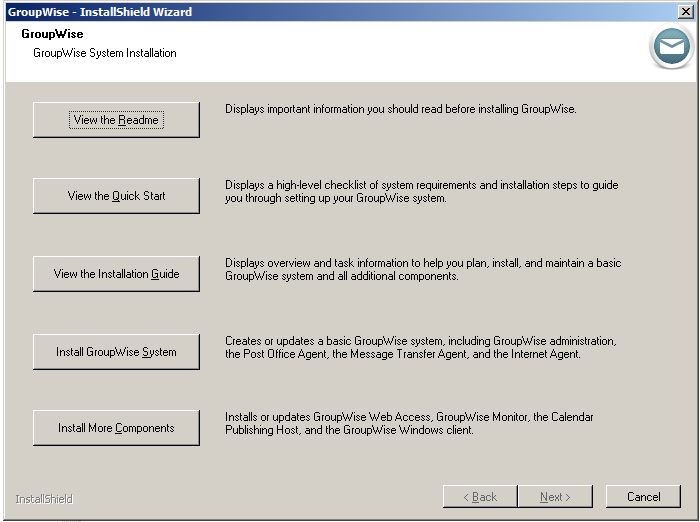
The main GroupWise System Installation page appears.
-
Click to start the WebAccess Installation program.
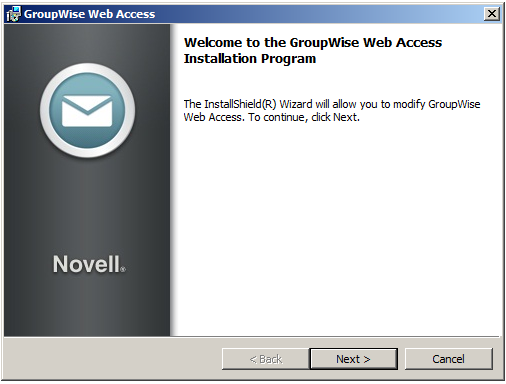
You can also start the WebAccess Installation program by running:
/software_image/internet/webaccess/setup.exe -
Click then follow the prompts to provide the information from your GroupWise WebAccess Installation Worksheet.
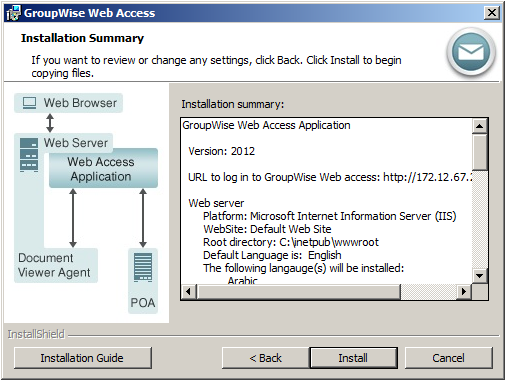
The WebAccess Installation program provides diagrams that help you understand how the various components interact with each other. Review the diagrams as you provide the requested information.
-
Review the Installation Summary page, then click .
-
(Conditional) If prompts appear because your Web server is running, select how you want to stop your Web server.
-
When the installation is complete, click to exit the WebAccess Installation program.
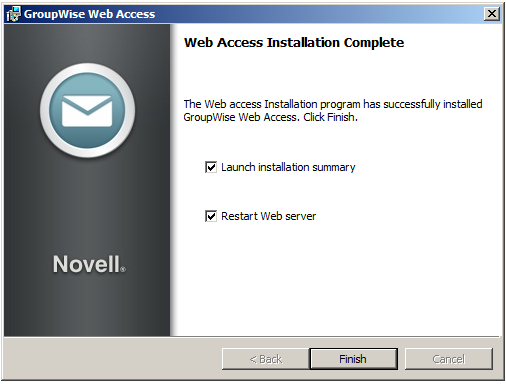
You can choose to have the WebAccess Installation program restart the Web server for you.
Along with the WebAccess Application, the WebAccess Installation program also installs Tomcat 6 to c:\novell\tomcat6, integrates it with your Web server, and automatically starts it to support the WebAccess Application.
-
Click to exit the GroupWise Installation program.
-
Start the DVA that you configured the WebAccess Application to communicate with.
For example, if the DVA is installed on the same server with the WebAccess Application, click .
For more information about the DVA, see
Document Viewer Agent
in the GroupWise 2012 Administration Guide. -
Continue with Testing GroupWise WebAccess.